
Tried & tested professional baker's tips on how to save over proofed sourdough dough during the second rising and prevent it from happening next time.
If you bake sourdough bread, you will already know that bread usually goes through a minimum of two stages of proofing and rising. The first stage is usually done in a bowl or a large container and it's often called 'bulk fermentation'. The second stage is the one I want to focus on in today's blog.
I've been baking my own sourdough bread at home for the last 25 years, so I know that sourdough bread baking can be a little tricky. I also worked in artisan bakeries to get extra practise and also run my own farmer's market bread stall.
Sourdough bread baking courses were the first ones I run when I started Cocoa & Heart back in 2011 and I continue to test recipes and share my bread baking skills with others to this day.
DON'T LOSE THIS PAGE - PIN IT FOR LATER

Which stage in bread baking we are really talking about ?
In today's blog post I wanted to look into problems that you might have with your sourdough bread proofing during the second rising (or your last rising if you like).
This is the stage when you usually shape the dough and leave it to proof in a banneton basket or similar type of container.
It is at this stage where we need to be careful not to overproof the dough as it needs to have enough energy to rise a little in the oven.
If your sourdough is overproofed, the natural yeast won't have any life left and the dough will not rise in the oven and it can also deflate easily as you turn it onto the baking tray or try to slash and score the top of your bread before baking.
MORE SOURDOUGH BAKING RESOURCES
Typical volume rising for sourdough dough (and what to look for)
- First rising (bulk fermentation) - aim to double your sourdough in size
- Second rising (shape & proof in a bread banneton basket) - nearly double in size (3/4 of 100% )
- Third rising (in the oven) - increase about 1/4 or so, depending on the strength of your sourdough starter
Note: If you are leaving your sourdough bread to rise and you are folding a few times during the first rising, for the purpose of this blog post, I count that as first rising.
MORE SOURDOUGH BAKING RESOURCES

What to do if you overproof sourdough
Option 1 - if you don't have any time and the dough hasn't overproofed by too much
In my experience, if you overproof your bread by just a little and you don't have any more time to spend doing your sourdough baking, my advice would be just to bake the sourdough!
Turn the bread dough very carefully on the baking tray, so that the bread doesn't fall down (and deflate...).
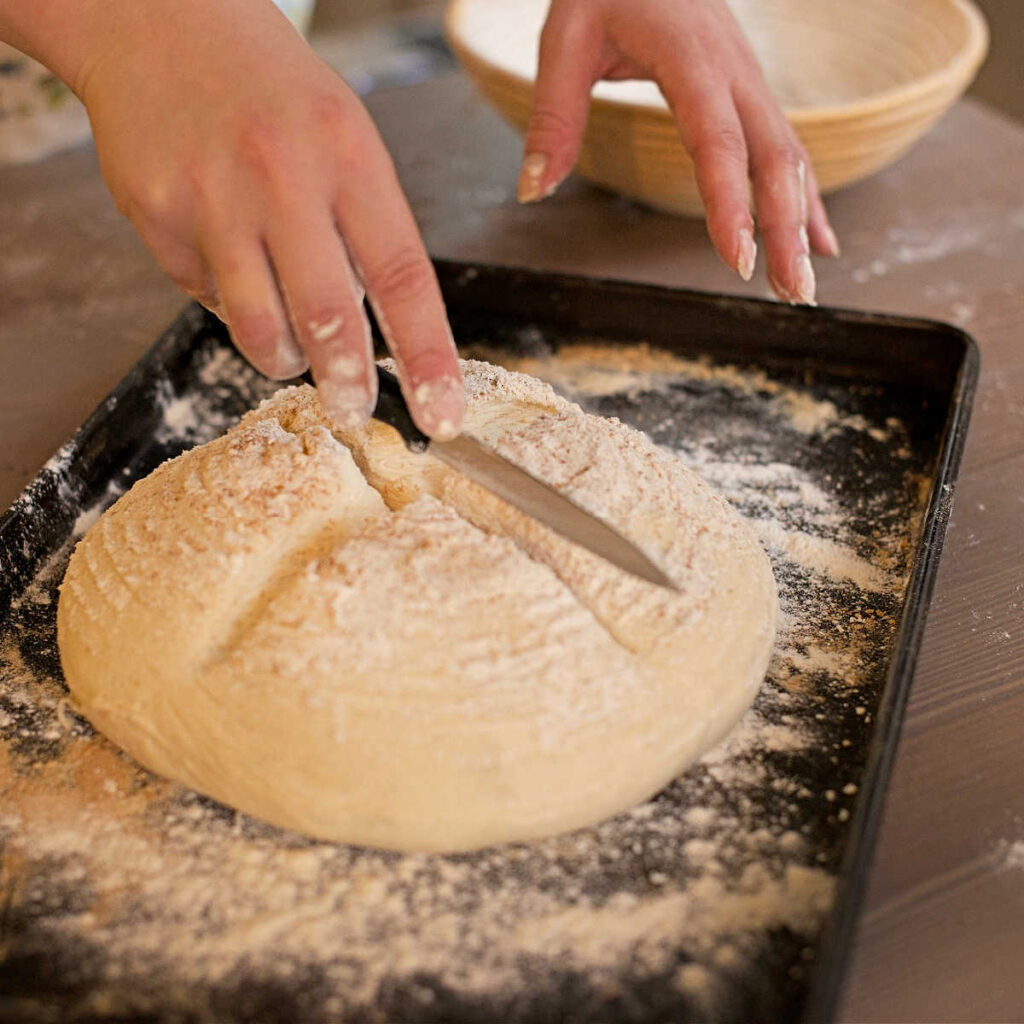
If your sourdough bread dough is badly overproofed, don't score it! This will only deflate it even more and you will definitely end up with a flatbread instead of a lovely proud sourdough bread.
The bread dough will press against the top skin of the bread and will fill it in. If you score it, you will end up with a deflated and split bread.
Make sure your oven is pre-heated to the highest temperature and initially bake the sourdough bread on as high temperature as you possibly can. My oven goes up to 250 C, but it's a fan assisted oven, so it's probably something like 260 C . This will also help to raise and keep your bread risen, instead of deflating it.
After about 10 minutes turn down the temperature to 180 - 220 C depending on how quickly your sourdough bread is browning.
If you like to steam your bread add a cup of boiling water ( or ice-cubes) to the bottom of your oven (you can literary just chuck it there) right at the beginning as you are putting your bread in. Don't open the oven for a second steam (which is what I normally do). Again this might knock the sensitive overproofed bread down.

Option 2 - if you have more time and the dough has overproofed, but hasn't gone too far
Depending on how far your sourdough has gone, you can simply deflate the dough and re-shape it again.
You can leave your sourdough bread to rise about 4 times before the natural yeast loses its virality and the bread won't rise anymore.
With every proofing, your bread dough will rise quicker and quicker, so you need to frequently check it. I also like to shape my dough tightly to make sure the dough doesn't spread too much when rising.

Option 3 - if the sourdough has overproofed too much (and it's beyond baking as it is)
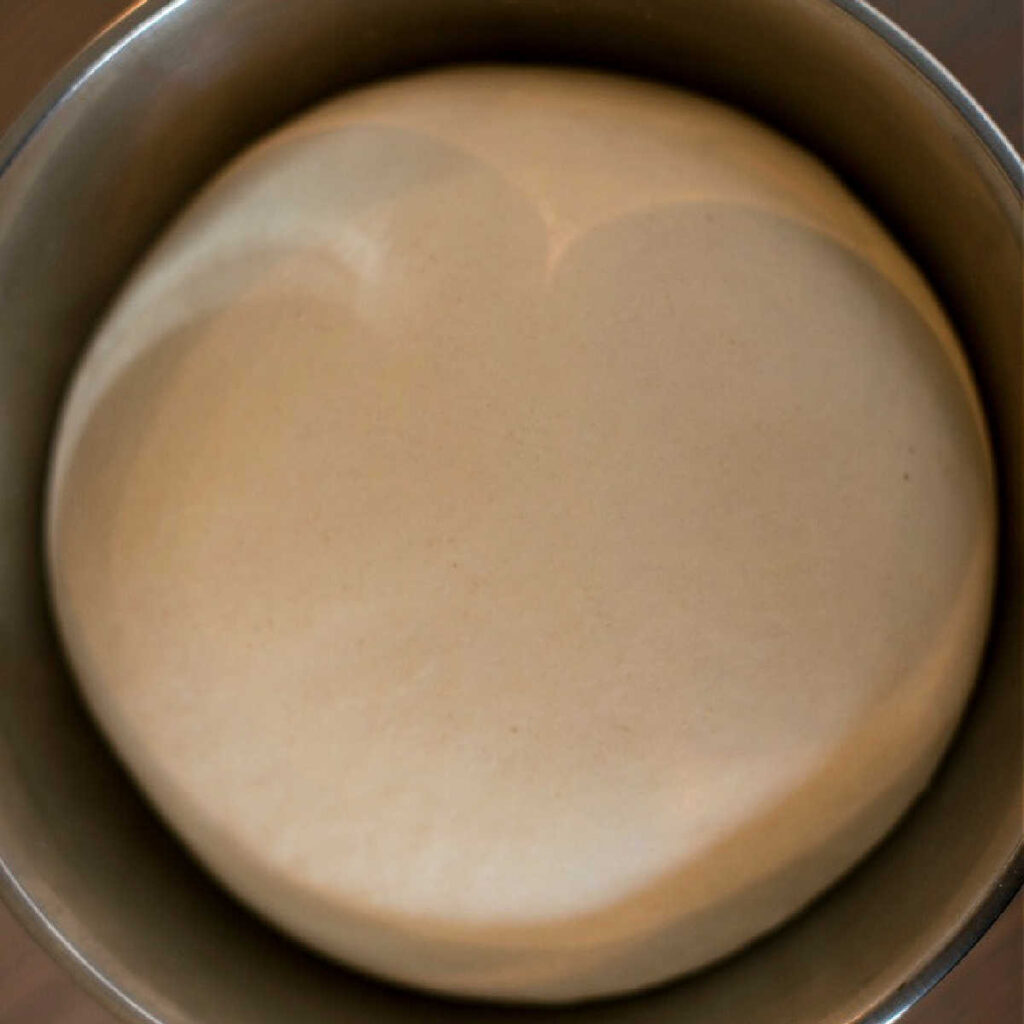
Unfortunately, if you leave your sourdough dough for too long, it can go beyond saving. If you see that your sourdough dough has started to run over the bowl or looks very liquid, the chances are that the dough has gone too far (see the picture above).
In my experience, even if you try to shape the loaf again, the natural yeast usually won't have enough strength to rise the bread again.
But, not all is lost! Rather than just throwing your dough in the bin, you can still rescue it and turn it into something else. Here is what I normally do, if I end up with a bit of a disaster!
MORE SOURDOUGH BAKING RESOURCES
- Is sourdough vegan & what to look for when making or buying your sourdough bread >>
- Sourdough starter troubleshooting guide >>
1. Bake regular yeasted bread
Use your favourite yeasted bread recipe and replace about 1/3 to 1/2 of the overall weight of the flour and water with the badly overproofed sourdough dough.
This will add an amazing flavour to your new bread and the yeast in the bread will be able to rise the bread again.
The spent natural yeast will feed a bit on the fresh flour and will help to raise the bread quicker than if you just used regular yeast.
Saying that, always make sure you use the full amount of yeast given in your recipe (about 7 grams - 1 sachet of dry yeast per 500 grams of bread flour).

2. Bake pizza or flat breads
Use your favourite pizza or flatbread recipe and replace about 1/2 the overall flour and water quantity with your badly proofed sourdough dough.
Because we are baking flatbreads or pizzas, the dough doesn't need to rise as much or hold its shape and you can add more of the overproofed dough.
The sourdough is also amazing for my homemade crispbread recipe, because it gives a bit of a tang and a great flavour!

3. Use any other recipe that calls for sourdough starter discard
You can easily use the overproofed dough for any recipe that's designed for a sourdough starter discard.
The only difference is that sourdough starter discard is usually much more liquid, so add more water or milk as needed.
- Cheese & Rosemary Sourdough Savoury Scones Recipe >>
- Quick Sourdough Bread without sourdough starter >>

4. Make pancakes or drop scones
The easiest thing to do with overproofed sourdough dough is to use it for sourdough discard pancakes.
Just add a ladleful (or a big handful) into your favourite pancakes recipe, adjust the taste with more or less sugar or milk and make as usual. I always make sure I still use the same amount of rising agent (soda or baking powder), but I love how the sourdough mixture makes the pancakes to rise quicker and makes them fluffier.
5. Dry overproofed sourdough dough and keep for later
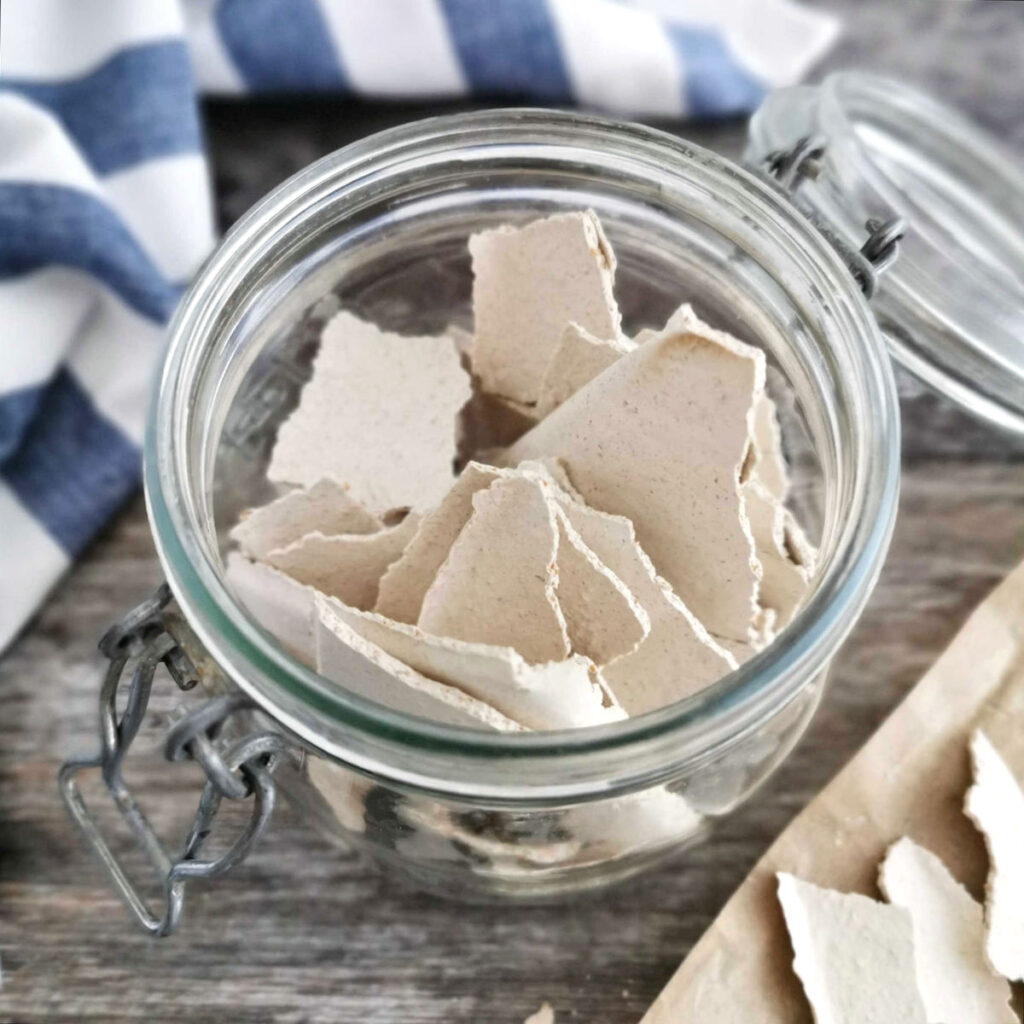
If I don't want to spend more time baking or cooking I simply leave my sourdough to dry. Similarly, like a sourdough starter, you can dry your overproofed sourdough bread dough and keep it for later.
Simply spread the dough on the baking tray lined with greaseproof paper and dry naturally or in a very low oven (no more than 50 - 80 C). Break into pieces and store in an airtight container.
You can use it for flavouring yeasted bread, use it in discard sourdough recipes or even add it to your sourdough starter to thicken it up a bit.
Don't forget that your dry over proofed sourdough bread dough will not be strong or active as a regular sourdough starter, so you always have to add other raising agent.
MORE SOURDOUGH BAKING RESOURCES
- How to prevent mould on sourdough starter & how to fix it >>
- How to dry sourdough starter and keep it for later >>
6. Freeze overproofed sourdough dough and keep for later
You can also freeze overproofed sourdough dough and keep it for flavouring or discard recipes at a later stage.
To make things easier, I normally weigh the dough, separate it into 100 grams and freeze it separately wrapped in a cling film (or small individual freezer bags or other suitable containers).
Whenever you need it, you will have ready made sourdough flavoured dough in handy 100 grams size packets.

How to prevent overproofing your sourdough dough next time
Right this is the big one, because you want to make sure that overproofing doesn't really happen in your kitchen next time! First of all make sure that you choose an optimal environment to prove your sourdough in. This means not too hot or cold (unless you are using fridge).
I usually use my bread baskets with a bit of flour and then cover the basket with a clean tea towel or a plastic bag.
Next, I always make sure that the temperature is right and constant as much as I can. Ideally you want about 25 - 30 C which can be trickier in winter, so I either leave the bread in the warmest room (that's usually kitchen anyway!) or switch on oven on 50 C for like 5 minutes or so and then put the bread in. Obviously I swich off the oven.
I have a oven thermometer inside, so I double check that the temperature is not higher than what I need. You can also use microwave if you've been using it to heat up something else, just add the bread in and leave it switched off. The residual heat will help to keep the bread warm and the small space of the microwave will act as a mini proofing box.
I also make sure that I check my sourdough frequently and sometimes even set alarm for regular checks if I'm out of the kitchen. This really helps to catch the bread before it overproofs beyond saving.
If I don't have enough time to wait around for my sourdough to rise I use slow proofing in the fridge overnight. This is a great way to slow down the process, get more flavour into your bread and also make it a bit more stable. This way, you have about 8 hrs before the bread rises, which is either perfect for baking in the morning (if you prepare everything the night before) or baking after you come back from work.
And finally, you need to bake your sourdough when the dough has nearly doubled (but not quite) in size on second proofing - this will ensure that your bread will still rise in the oven (and won't collapse).
This blog post was originally written on 17 December 2021 and last updated on 5 September 2026






Leave a Reply