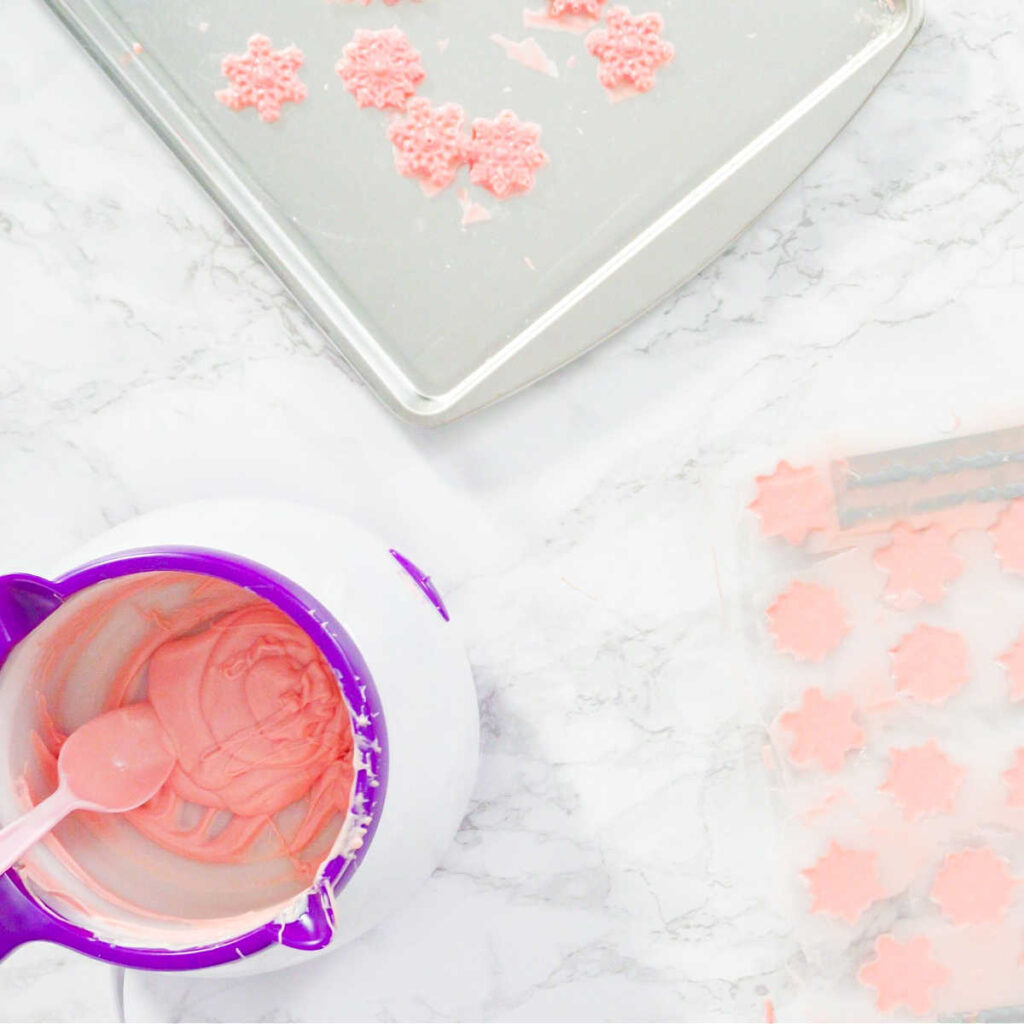
Once you melt your candy melts you have a limited time to work with the mixture before it cools down and sets. But, there are ways of making sure your candy melts are good for as long as you need them to be and allow you to finish your candy making project.
Whilst I'm mentioning candy melts through this blog post, I use the same method to keep my chocolate coverture warm during my chocolate making courses or when I'm making chocolates for my customers.
The quick answer to how long are candy melts good for once melted is: several hours as long as you keep them warm. Even if your melted candy melts harden and set, you can re-heat them and re-use them in your next project.
MORE CHOCOLATE MAKING TIPS

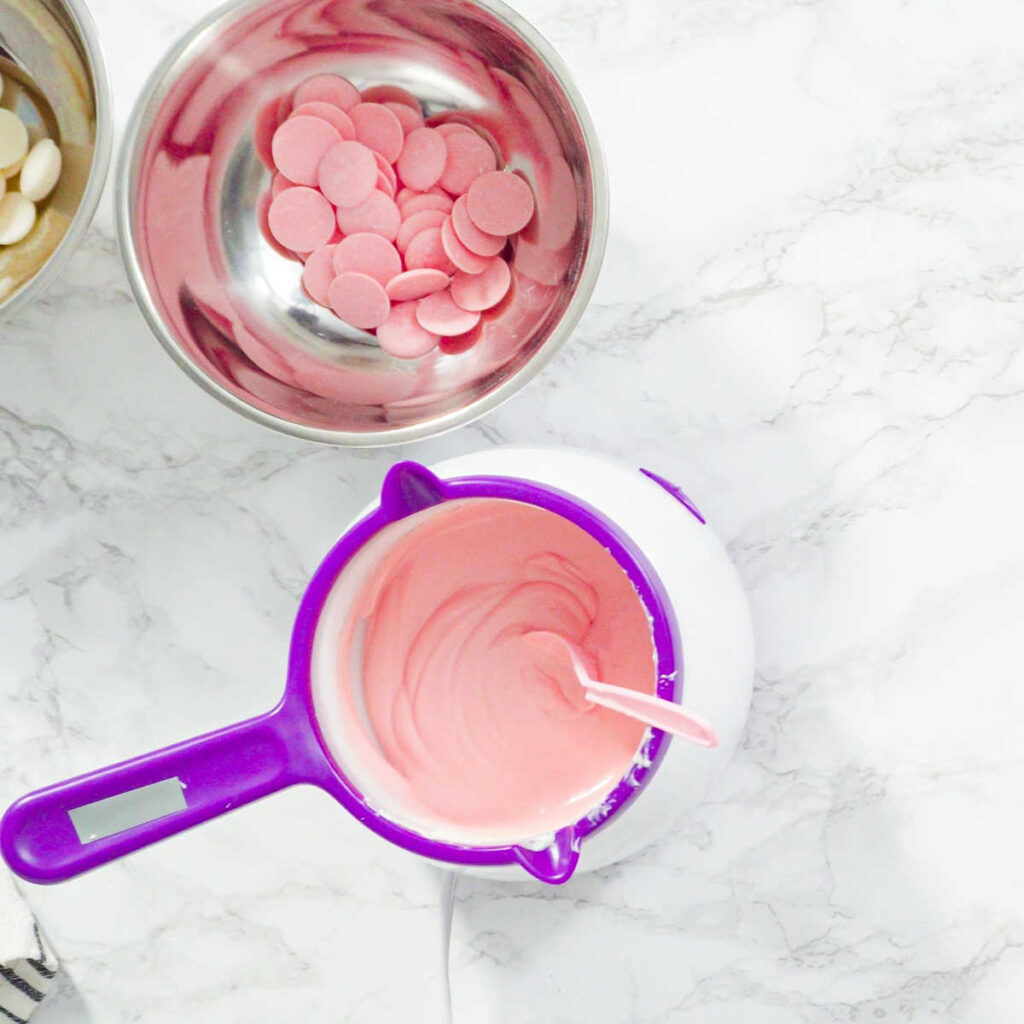
The most important thing is not to allow your candy melts to cool down too much otherwise the candy melts will start to harden. Once your candy melts are fully melted, they are about 27 C (or 80 F) warm.
That's about 10 C or 50F lower than our body temperature. I always say this to my chocolate making students, because it's an easy way to realise how relatively cold/warm the candy melts need to be.
Once your candy melts are fully melted you need to make sure that you keep them warm enough, so that they stay within the 27C (80F) range. To do this, you can do the following:
How to keep your candy melts warm
Work in the warmest part of your kitchen
You'd be surprised how quickly can candy melts cool down when you are working in cold environment. Working next to a radiator or an oven will be much warmer, than working with the door open to a cold pantry, glass conservatory or the outside garden door.
This could be only few degrees difference to us, but it's much bigger difference to the candy melts or your chocolate!
Use 2 plastic bowls instead of one
Once you melt your candy melts, you can slide the main bowl into another one and add a teatowel (or something similar) between the bowls. This will thicken the sides of the bowl, which will help to keep the warm inside the first bowl.
Stand your bowl on teatowell
Make sure that you stand your bowl on something that will protect it from the cold kitchen work top. Folded teatowel is the easiest to use, silicone baking mats or plastic chopping boards are great too.
Use hot water bottle with warm water
I often use a hot water bottle for melting my cocoa butter colours for painting chocolate moulds (and yes, my chocolate courses students find it hilarious too!). But you know that? It works!
Just add warm - not boiling - water to a hot water bottle (make sure it doesn't have any fabric cover) and place your bowl with melted candy melts on top. The hot water bottle will keep your candy melts warm, whilst your dip your cake pops or other sweet treats.

Return the bowl periodically back to the microwave or double boiler (bain marie)
You need to be a bit careful with this, but you can periodically return the candy melts to the microwave or double boiler (bain marie) and re-warm it.
The tricky bit is not to make the chocolate too warm. Withe the bain marie (bowl over a simmering water in a saucepan - like in the picture at the beginning of my post) I usually switch off the heat completely and just place the bowl back over the saucepan. The residual heat will be more than enough to keep the candy melts warm.
Be careful about water around your candy melts as this will make them seized if the water gets in.
If you are using microwave, put the bowl back to microwave for 5 seconds at the time and lower the microwave power if you can. This way, you have better chance not to overheat the candy melts.
Use hair dryer
First, make sure that your hair dryer is clean and doesn't have any dust in. Then just use it on warm setting and airm at the sides of the bowl where the candy melts are already setting. Stir the candy melts down as you go to re-warm the middle of the candy melts.
This method also works with most of the candy melts substitutes, which need to be gently kept warm as you are dipping your cake pops or truffles in.
Use heat gun
If you are thinking of making more projects with candy melts or chocolate, it might be worth you investing in a heat gun. This is not a specifically chocolatier's made tool, but pretty much all chocolatiers are using one of these.
It might surprise you that you will find a heat gun in your hardware or DIY store or shop and than originally heat guns are used for scraping paint from a wood or similar jobs around the house.
They can get quite hot, but I've noticed that the more modern types start with about 50C (or 120F) which is relatively low and great setting to use for candy melts or chocolate coverture.
Use it in the same way as a hair dryer and just take extra care when putting the heat gun down or picking it up as the top gets very very hot!
Use electric heat pads or something similar
If you have something like a electric heat pad for your plates or cups, these can work great keeping your candy melts warm. Depending on how warm the electric pad or plate gets, either stand the bowl directly on the top or place something in between the plate and the bowl to make sure it doesn't get too hot.
Pro Tip
I find that your candy melts will start to set or cool down first on the side of your bowl. Ideally you only want to re-melt the areas that are setting and not to make the middle of the bowl overly warm.
This is where something like a hair dryer or a heat gun comes in very handy, because you can aim directly at the cooling areas and melt those again.

What to do if your candy melts set completely before you finish your project
Carefully re-melt your candy melts if you still need them.
Any leftover candy melts can be left to set and stored, wrapped in a plastic bag and kept in an air tight container for up to 3-6 months. When you are ready to use them again, either melt them into fresh/new candy melts or use an extra shortening or oil to thin the candy melts.
This blog post was originally written on 11 March 2022 and last updated on 18 February 2024


Leave a Reply