Practical tips on how to harden candy melts for your next candy making project and what to do if your candy melts won't harden. To make sure that your candy melts behave the way they should - melt, harden and stay set, you need to store your candy melts correctly and at the right ambient room temperature.
Do you put candy melts in the fridge to harden?
The quickest way to harden candy melts after you've used them for your cake pops, dipped strawberries or pouring them into the mould is indeed to put them in the fridge.
Saying that, you need to make sure that you don't leave candy melts in the fridge for too long otherwise the humidity and water condensation in the fridge might spoilt your candy melts.
They can also absorb very easily any smell from other food, especially if they are strongly flavoured. Making sure that you have a clean fridge space (at least one shelf) is always a good idea. You should also cover all other food with sealed lids or cellophane plastic.

How long should candy melts stay in the fridge for?
This very much depends on the size of your candy melts. The thinner or smaller your candy melts shapes are, the shorter amount of time they need to be in the fridge.
5-10 minutes - dipped strawberries, pretzels, drizzled candy melts on already set cake, candy melts chocolate truffles rolled or dipped in candy melts
15-20 minutes - cake pops dipped in candy melts, smaller cand melts shapes, smaller - flatter candy melts bars
20-30 minutes - large shapes, medium sized Easter Eggs or thicker candy melts bars
30 minutes or longer - large candy melts projects
30 minutes or longer - for any candy melts thinned with oil (as they can be quite runny)
When to put candy melts to the fridge?
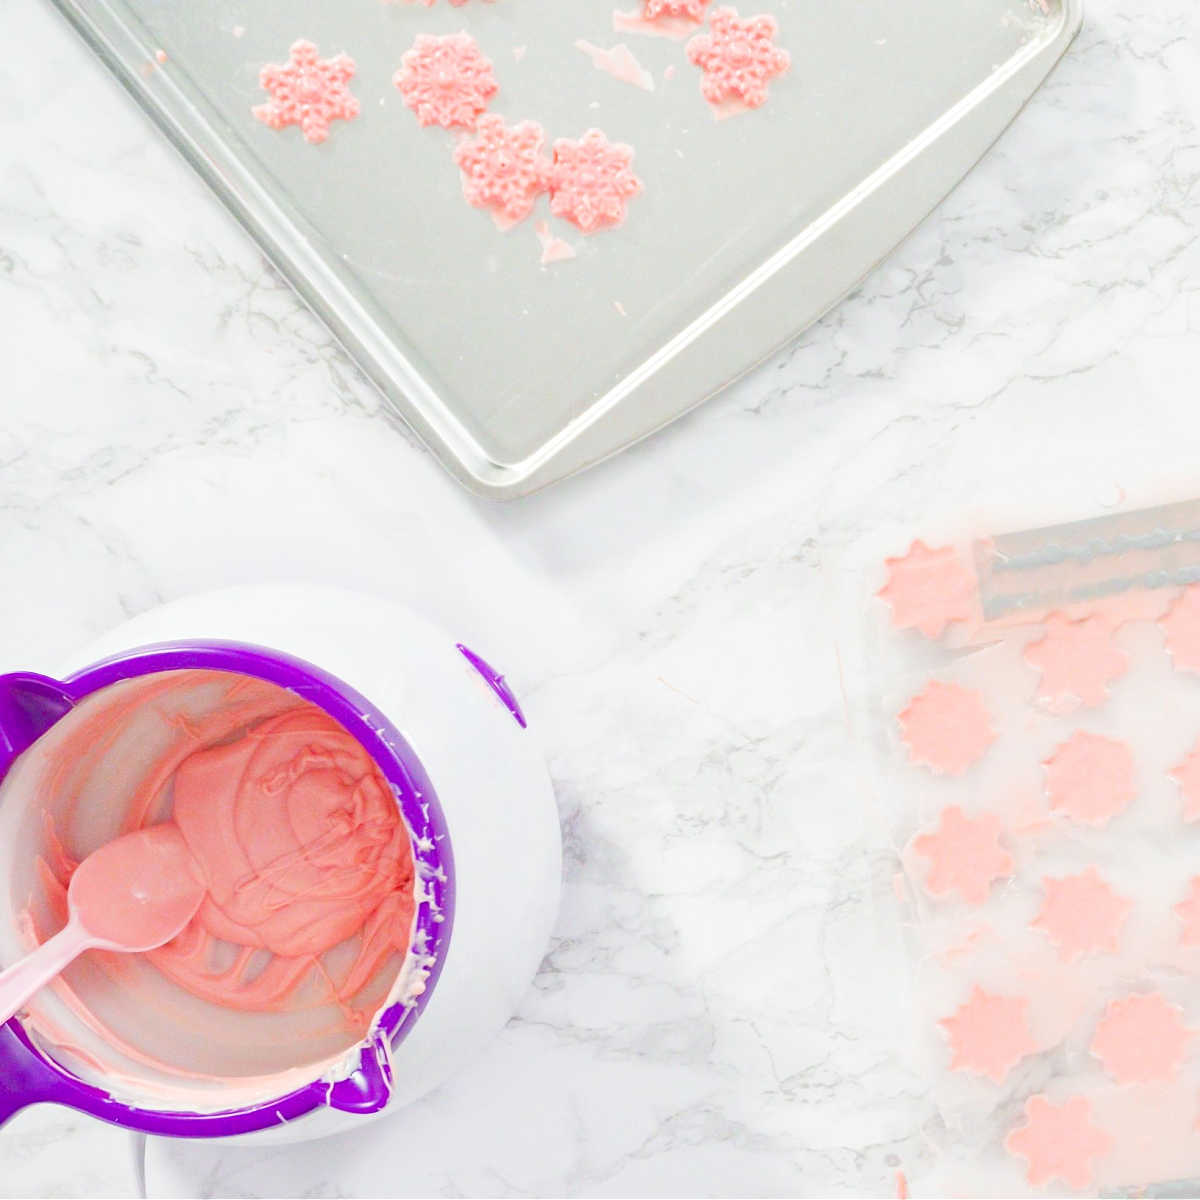
Ideally, you want to finish smaller candy melts project - for example dipping strawberries or pretzels and put them straightaway in the fridge. I usually wait until I fill one tray and then put the tray straight into the fridge.
If you are working on something bigger, such as a large Easter Egg or a very thick and large candy melts bar, I would wait 3-5 min before placing the candy melts to the fridge. This is because you don't want to give your candy melts too much of a temperature shock and let the candy melts to harden gradually.
The Best Environment for Setting Candy Melts
The room where you work with your candy melts matters just as much as your fridge or freezer. Temperature and humidity are the two most important things.
A Cool, Dry Room is Best
- Temperature: Your best bet for fast, smooth setting is a room that is cool, but not freezing. Think of a temperature between 16°C and 20°C (60°F and 68°F). If it's too warm, the melts will take forever to set.
- Humidity: This means how much moisture is in the air. High humidity (a very moist room) is bad. The moisture can cause condensation (tiny water beads) on your finished treats when they are moved from the fridge back to the room. This can cause the melts to look spotted or dull instead of glossy and shiny.
If you have a humidity reading in your home, try to keep it below 50%. If your kitchen is steamy, move your finished items to a drier area, like a dining room, to finish setting.
Leaving candy melts to harden in a room temperature
Candy melts and candy melts substitutes will also harden if left in the room temperature, but it takes a lot longer (2-3 times longer depending on your room temperature).
Try to work out which part of your kitchen (or other room) is cooler and at least move the finished candy melts project to the cooler part of your kitchen. Even 1-3 degrees will make a difference in setting time.
You can also look into setting your candy melts in other cool rooms, out of the way of a direct heat (like a radiator, oven or light) or direct sunlight. Room that doesn't get much sun, is automatically going to be colder if you are not too sure.
Tips for cooling down your finished candy melts if you don't have an access to a fridge
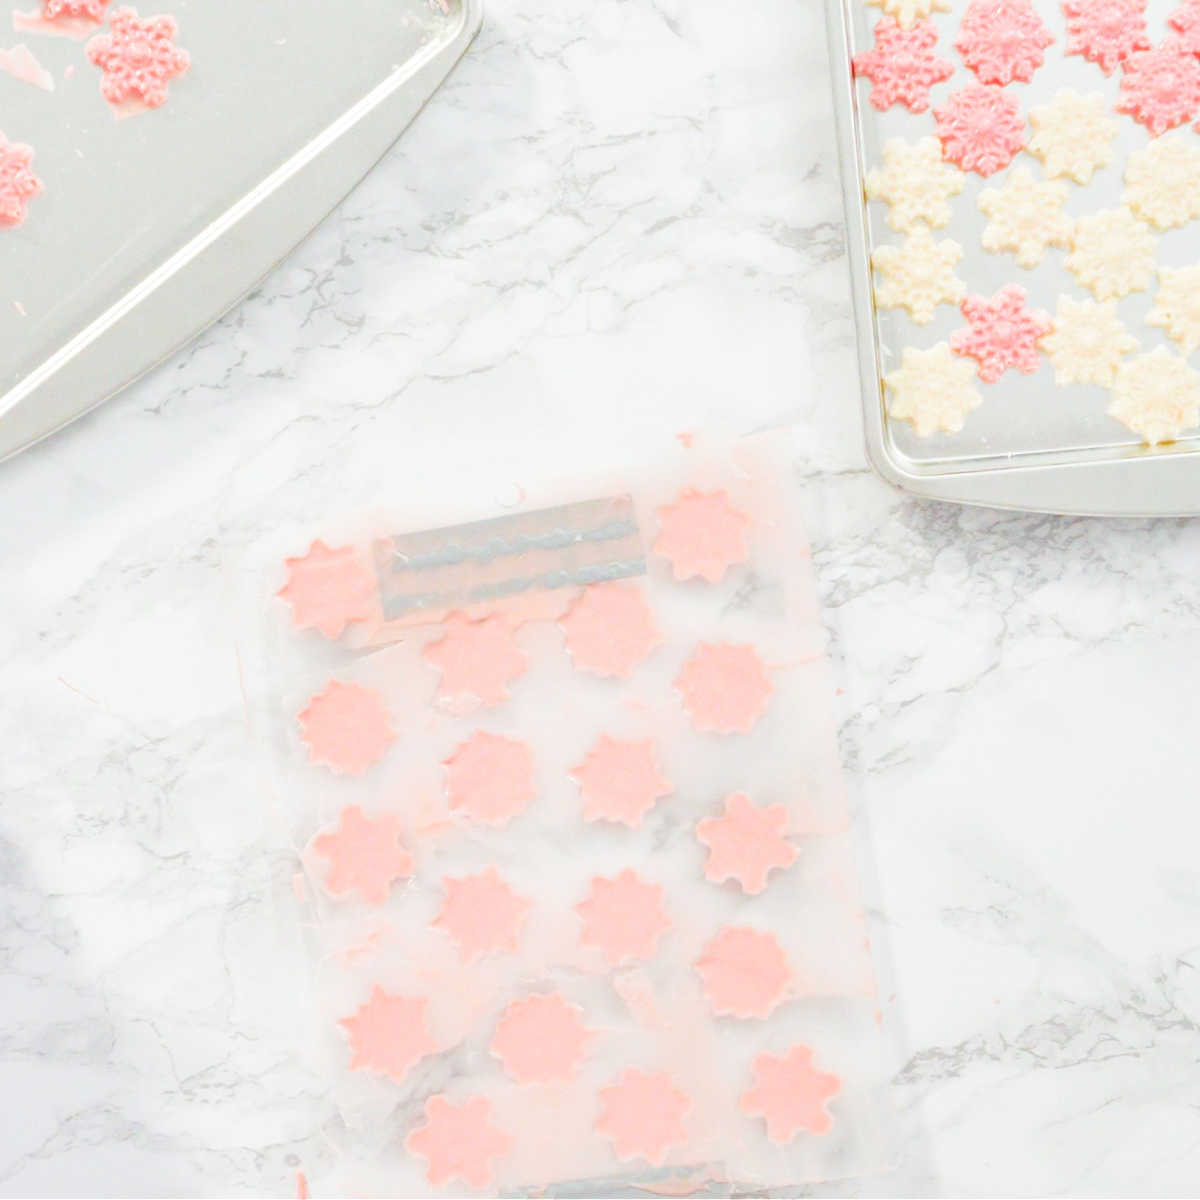
- Place your candy melts on a colder surface such as marble, granitte board or kitchen worktop
- Take out ice cubes (wrapped in a plastic bag), cooler packs or even any food items that you want to defrost. Make sure everything is wrapped and place your candy melts on the top
- Move your candy melts to a cooler room or cooler part of your kitchen
- Put your air conditioning on very low (if you have any)
Setting candy melts in the freezer
If you are short of time, you can also use freezer to speed up the setting time of your candy melts. You need to be a bit careful with this method though as freezer can produce even more humidity and condensation on your candy melts than a fridge.
I usually start with setting the candy melts in the fridge for 5 minutes or so and then place the in the freezer for further 5-10 minutes maximum. This way, the candy melts won't get too much of a shock when their temperature suddenly changes from room temperature (say around 18-23 C or 64-75 F) to fridge temperature (3-5 C or 37 - 41 C) and then freezer (-18C or 0 F).
You can see it's quite a dramatic change in temperatures, which is why gradual change works better than a sudden, which could cause your candy melts to bloom or get spoiled.
If you are very pushed for time, you can try to go straight from room temperature to freezer, but don't leave your chocolates there for a very long time and keep checking on them regularly.

Main Reasons Why Your Melts Won't Harden
If your candy melts are still soft after a long time, the setting time might not be the real problem. There are three main reasons why the melts might have trouble firming up correctly:
1. Too Much Added Fat
You might have tried to fix seized melts or just thin them down by adding too much shortening or oil.
- The Problem: The candy melts have a certain amount of fat they can hold and still set. When you add too much extra fat (like vegetable shortening or coconut oil), you change the chemistry. The mix becomes too soft and it might never get rock-hard, even in the fridge.
- The Fix: There isn't an easy fix for this. The best thing is to use those soft melts for baking (like a soft glaze on a cake) or mixing them into a baking recipe like brownies, where the softness won't matter.
2. Overheating the Melts
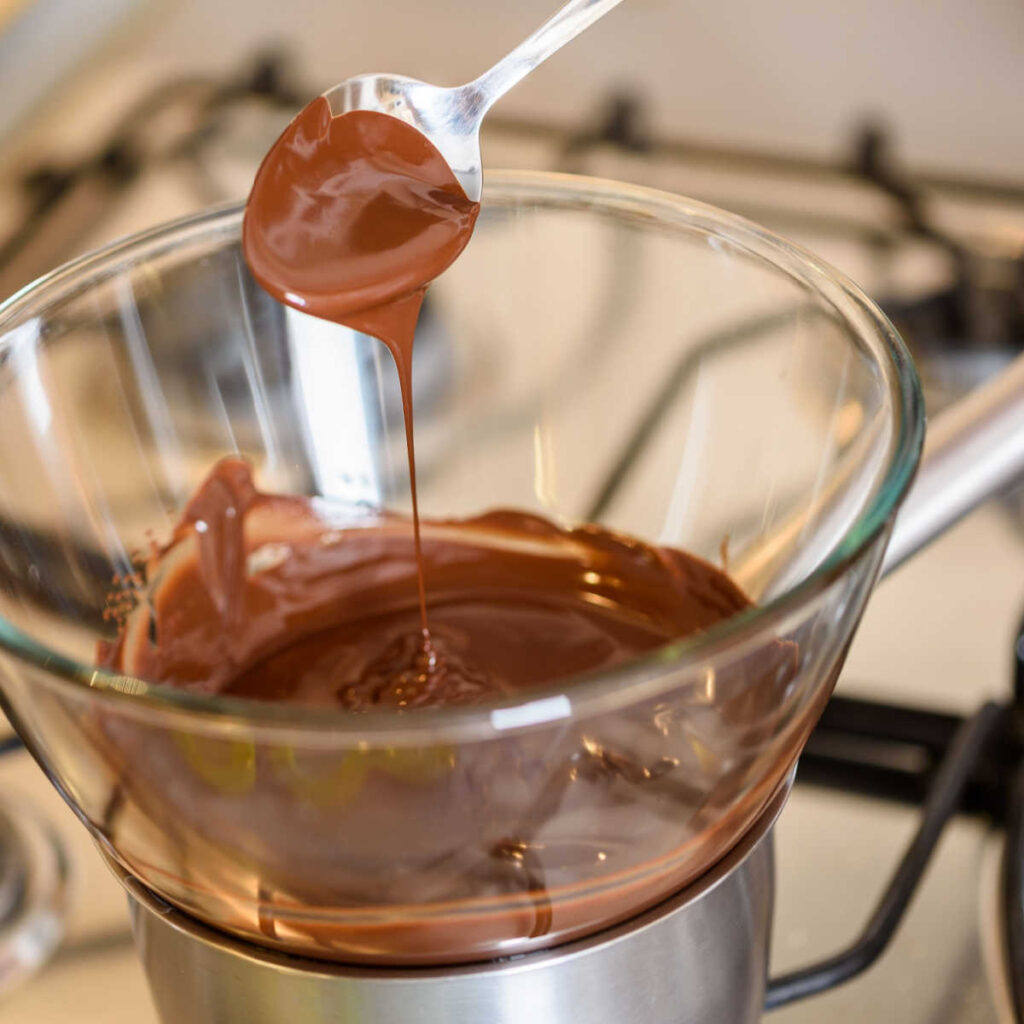
As I mentioned before, if the candy melts get too hot, it affects the fat structure inside.
- The Problem: When the vegetable oil or fat in the melts gets extremely hot (over 46°C or 115°F), the fat crystals break down too much. When they cool, they can't form a strong structure again. This results in soft melts that can develop ugly white streaks or patches (called bloom).
- The Fix: You already mentioned the best method: gently remelt them, then stir and cool them down slowly to encourage the fat crystals to re-form. You can also try adding a small amount of fresh, unmelted candy melts to the mix, which can sometimes "seed" the mixture with good fat crystals.
3. Using Water-Based Coloring or Flavoring
If you add anything liquid to your melts, they can sometimes have trouble setting correctly.
- The Problem: Candy melts are oil-based. If you add standard water-based food coloring or extracts (like vanilla extract), the water can cause two problems:
- It can cause the melts to seize (get lumpy).
- If you add just a little bit of water-based liquid, it can separate from the fat, leading to a weaker finished product that never sets hard.
- The Fix: Always make sure any colorings or flavorings you use are oil-based. If you've already added the wrong type, you might need to try and save the batch by adding more dry melts and a bit of extra shortening to balance the mix.
What to do if your candy melts won't harden
The only thing you can do is to leave your candy melts to harden for a little longer. If you need to speed up the process, place them in the freezer for 5-10 minutes and check regularly.
Candy melts will eventually harden, although candy melts stay good for a while after they have melted, but if they have been overheated (right at the beginning when you were melting them), they might take a lot longer and when they set they might not look great. If you get white streaks or white patches across the candy melts, that means that the candy melts have been definitely overheated.
You could try to melt them down again very carefully, then stir them for a while (to sort of replicate a bit of chocolate tempering to re-crystalise some of the vegetable oil) to cool and then pour again.
What to do if your candy melts are setting too quickly
If you are using your candy melts to dip cake pops or chocolate truffles in, you might find that the candy melts do start to set or even seize, which makes it difficult to dip the next cake pop or truffle in.
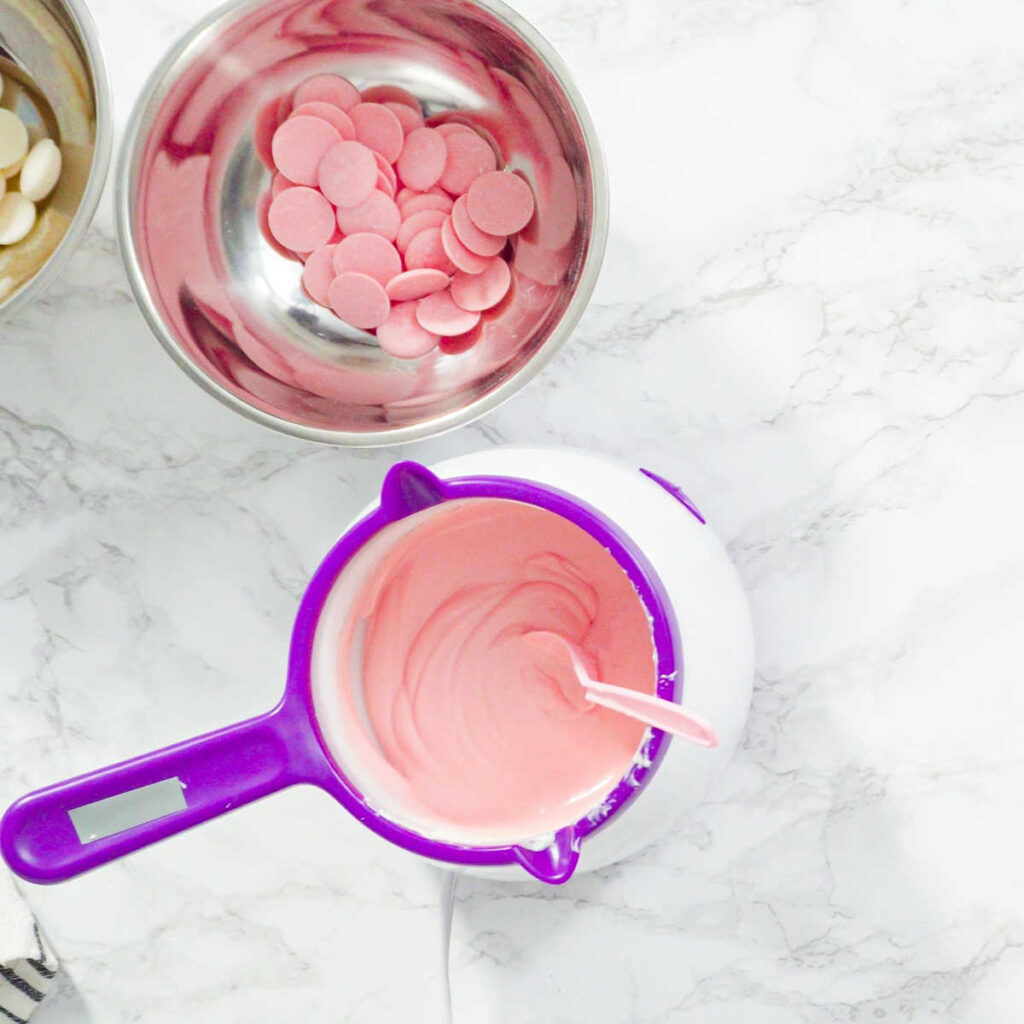
The solution to this problem is to keep your candy melts warm enough so that the constant dipping of a colder cake pops or truffles won't cool down the mixture too much.
Here is what you can do to keep your candy melts warm:
- Place a teatowel under the candy melts bowl
- Use two bowls (one inside the other) with a teatowel in between (optional)
- Reheat gently the candy melt mixture every time it starts to get a bit colder (using bain marie, double boiler, microwave, heat gun, hairdryer)
- Use something warm underneath your candy melts bowl (warm hot waterbottle, electric warm plate etc.
This blog post was originally written on 15 March 2022 and last updated on 28 November 2025


Leave a Reply