Practical tips on how to fix seized candy melts from a professional chocolate maker. Comprehensive guide on how to fix and prevent candy melts seizing.
In this blog post, you will find my practical tips on how to fix seized candy melts based on my experience working with candy melts over the last decade whilst making my own chocolate at home and running chocolate courses.
I tried my best to put together a comprehensive guide on how to fix and prevent candy melts seizing for you, but if you have any questions, you can always get in touch on my social media or leave a comment here.

Why use candy melts for your chocolate making
Candy melts have similar use to chocolate coverture. They are very easy to use, which makes them a great introduction to a chocolate making as they are perfect for beginners or occasional home cooks and bakers.
Although candy melts are quick and easy to use, you still need to follow a few basic guidelines to make sure they work well and you end up with glossy and shiny candy melts sweets.
MORE CHOCOLATE MAKING TIPS
- Why does chocolate go white & is it safe to use it? >>
- How to fix split ganache (4 tried & tested methods) >>

Candy melts problems with seizing
One of the unfortunate problems that you might come across whilst working with your candy melts, is candy melts seizing. This means that the candy melts have gone quite hard and are difficult to melt although they feel and look like they are warm enough.
What causes candy melts to seize
- Water & high humidity
- High heat
- Dry candy melts
- Old, badly stored, out of date candy melts
- Wigorous stiring or mixing
The main three reasons for candy melts seizing is water or humidity, high heat, dryness of your candy melts or if your candy melts have been badly stored or are out of date. All of these can cause candy melts to seize and combinations of any of these make the seizing even worse.

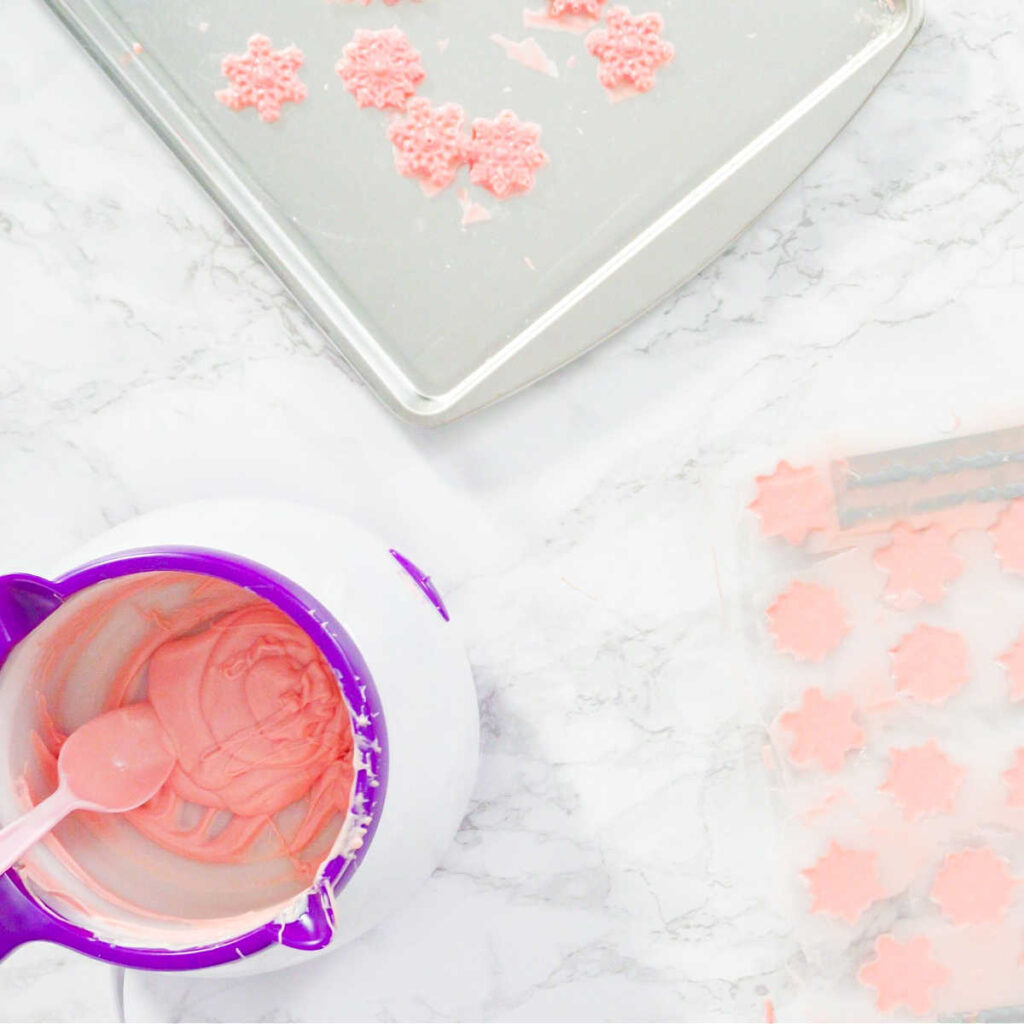
How to fix seized candy melts in 4 steps
1. Stop heating your candy melts
The first thing to do is to stop heating your candy melts and remove them from any heat source. If you have a thermometer check what the temperature is now. This is mainly so that you understand (for next time) what does 'hot' mean for candy melts.
Basically, anything over 46C or 115 F is going to be way too hot for candy melts, but for us, humans, that probably feels just like a nice warm bowl of candy melts!
2. Add extra ingredients to loosen your candy melts
Heat some shortening or other types of fats that are used for thinning candy melts and only use 1 teaspoon at a time, gently stirring it into the candy melts.
If the candy melts are loosening up, keep going and add another teaspoon until you reach nice, smooth and runny consistency.
Make sure you don't stir the candy melts too vigorously, as this can seize them too.
Also don't add too much extra shortening or fat otherwise the candy melts might not set and harden very well.
3. Use a sieve to make candy melts smooth again
If you get any lumps or bits that just won't melt, you can push the candy melts through a fine sieve, which will help to make the candy melts smooth again. Remove and throw away any bits that stay in the sieve, they are probably too hard to do anything with and won't be any good even for eating or baking with.
4. Warm your candy melts carefully
To carry on using your candy melts, warm them up very gently and use them up straightaway.
Prevention Tip: Safe Heating Temperatures
When melting your candy melts, temperature control is your best friend.
Target Temperature: Aim to keep your candy melts between 40°C and 45°C (105°F and 115°F) while melting. If you don't have a thermometer, just remember: your melts should be warm, but not hot to the touch.
Microwave Safety: This is the easiest way to overheat. Always use a medium-low power setting and heat in 30-second bursts. Stir well after every single burst, even if the melts don't look melted yet. The heat travels from the middle, so stirring helps even it out.
Double Boiler (Bain Marie) Safety: You must keep the bowl of melts away from water. The bottom of the bowl should not touch the water in the pot, and the water should only be simmering gently, not boiling hard. The steam is just as dangerous as liquid water!
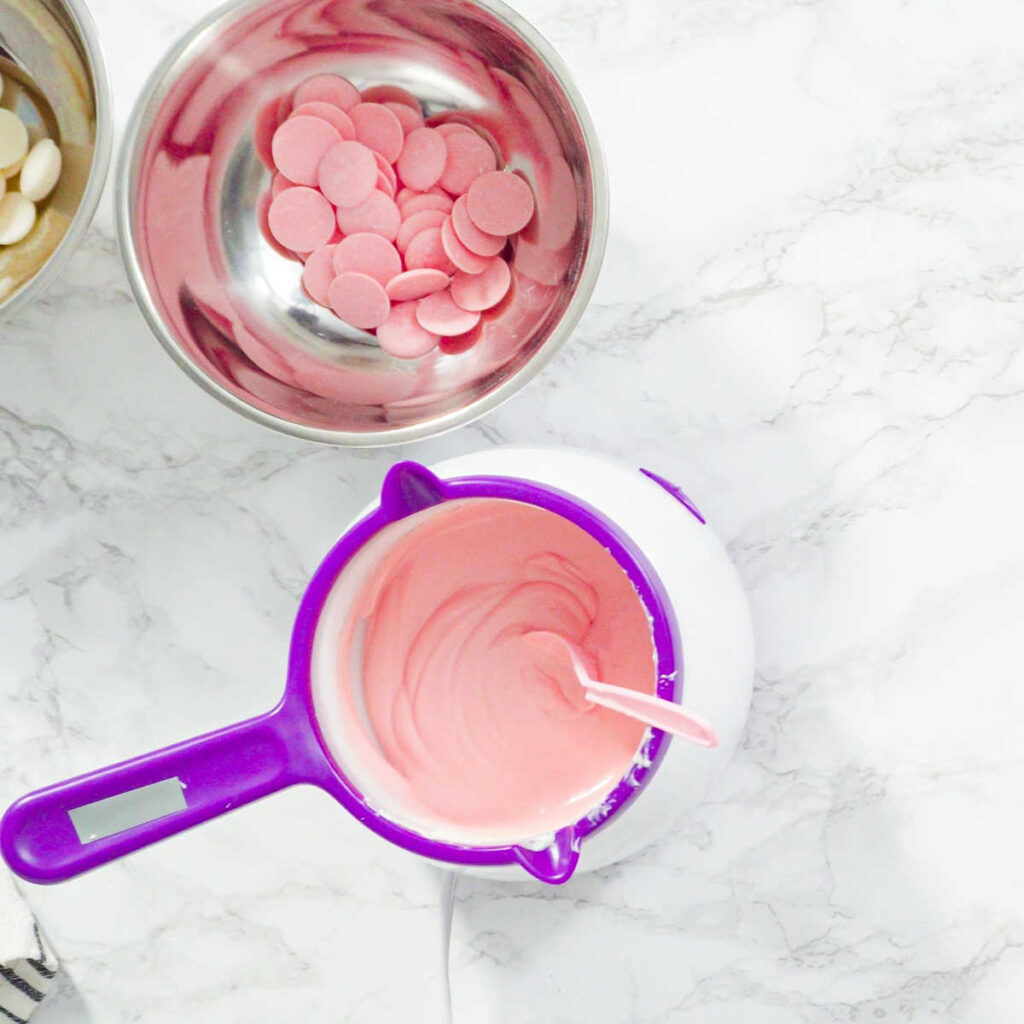
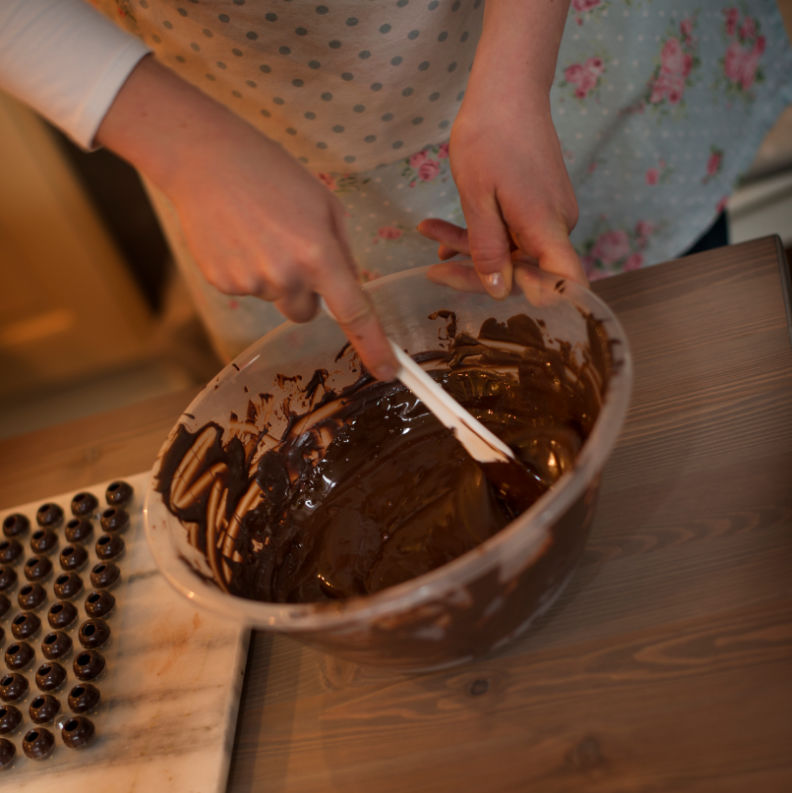
Ingredients you can use to loosen up seized candy melts
If you have rather large amount of seized candy melts and you have some extra fresh candy melts or candy melts substitutes, you can melt the fresh candy melts first and then add a small amount of the seized candy melts to melt in. Add a small amount of shortening to thin the whole mixture a little more and then use as normal.
The benefit of doing it this way, is that you have a better chance to end up with a well finished candy melts without any blemish.
It does mean that you will need to keep the rest of the seized candy melts. Store the seized candy melts in a sealed container (or strong plastic bag), label it as 'seized candy melts' and use a little bit every time you are making something with candy melts or add it to any baking chocolate recipe.
White or coloured candy melts
Use white chocolate or white chocolate coverture or most white chocolate substitutes for loosening up your seized candy melts.
Milk or dark candy melts
You can also use a real chocolate or milk chocolate alternatives or even dark chocolate substitutes to mix with seized candy melts in the same way as regular candy melts.

Which fats to use for thinning candy melts
When your melts are a little too thick, or if you need to fix a seized batch, the right kind of fat is essential.
Safe Thinning Fats: The best fats to use are those with no water or very little flavor, such as vegetable shortening (like Crisco), refined coconut oil, or pure cocoa butter.
Fats to AVOID: Do not use fats like butter or margarine because they contain water, which will seize your candy melts instantly!

What to do if you can't fix seized candy melts
On occasions, no matter what you do, you'll just not be able to solve this problem. If the candy melts have gone that far and gone very thick and hard, you might not be able to save them.
But it doesn't mean that you need to throw them in the bin! You can use candy melts for cooking, baking and other type of sweet making, pretty much anywhere where you would use chocolate.
For example you can always bake with seized candy melts and use them for baking brownies, chocolate crunch tray bakes, grate them into chocolate pancakes or chocolate cupcakes. If you are using white or coloured candy melts, you might need to add an extra cocoa powder or any cocoa powder substitutes to make sure your chocolate cake does taste like a chocolate cake.
If you have colourful white candy melts, you can also make them into hot chocolate and they are perfect for unicorn hot chocolate for children.
If the candy melts are not too badly seized but still not runny enough for your original candy making project, you can make them into chocolate ganache either for chocolate truffles filling or for make them even more thinner and make them into thin ganache for drizzling on a cakes.

How to prevent candy melts seizing (for next time)
- Melt your candy melts gently and slowly on a low heat
- Don't stir them vigorously or quickly
- Use a little bit of shortenning if they feel thick to reach smooth consistency
- Keep candy melts away from water - this includes steam from double boiler (bain marie)
- Store candy melts in sealed plastic container
- Use older packs of candy melts mixed with some new candy melts or add shortenning
- Make sure that your colouring and flavouring (if adding any) is oil based (not water based)
This blog post was originally written on 15 March 2022 and last updated on 28 November 2025


Leave a Reply