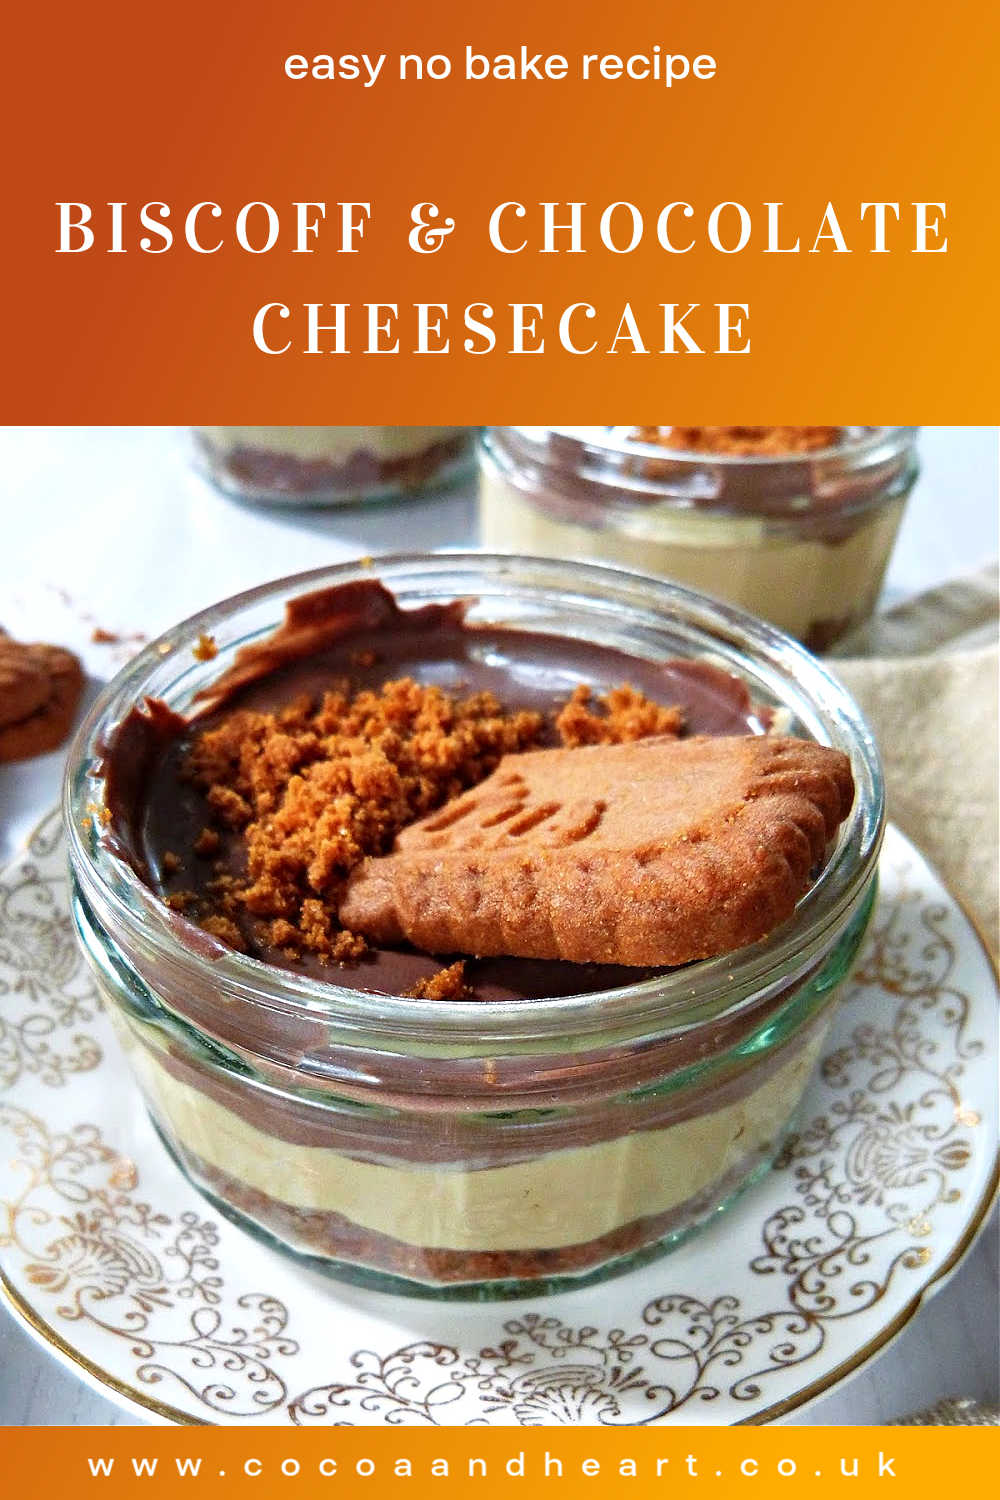
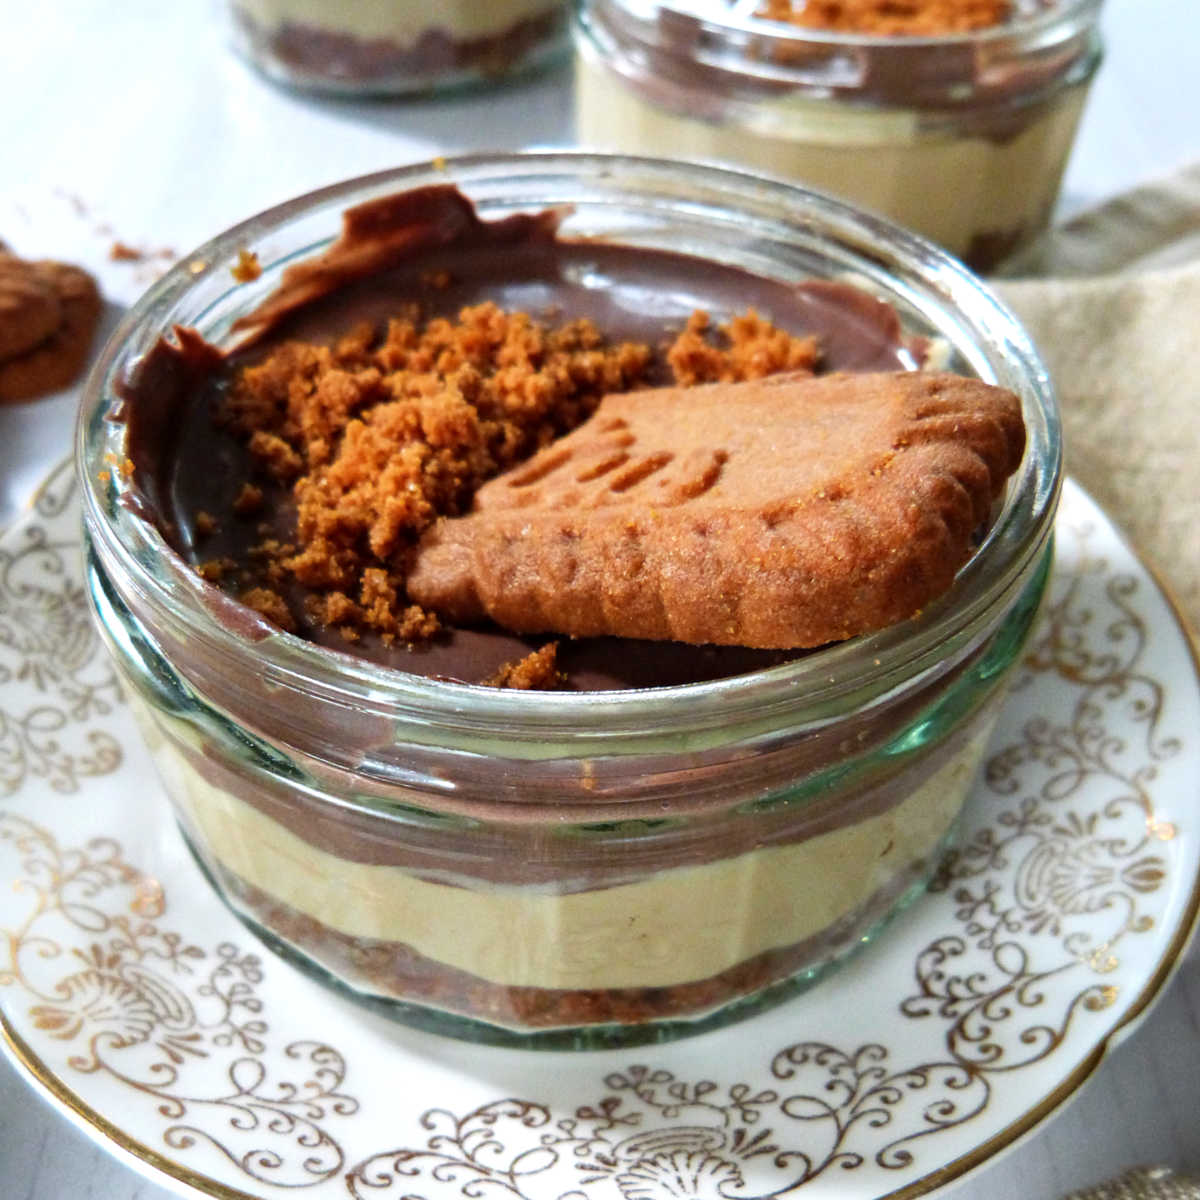
This is my easy to make, chocolate cheesecake recipe with a malted biscoff biscuits base and layer of biscoff spread cream cheese filling and chocolate cream cheese filling.
The malted flavour of the biscoff biscuits works brilliantly with the strong cocoa flavour and the cream cheese biscoff spread layer is light with a hint of vanilla. This is no bake cheesecake recipe, which is great to serve as pudding after dinner or a perfect little treat any time of the day.
Why make this recipe?
- Quick and easy to make chocolate Biscoff cheesecake
- Doesn't need baking!
- Fab flavour combination with dark cocoa layer and malted Biscoff cream cheese layer
PIN THIS RECIPE & KEEP FOR LATER
What are biscoff biscuits?
Biscoff biscuits are small thin biscuits with amazing caramelized flavour. They taste great with coffee and because of their strong flavour are often used in baking recipes.
For some reason I thought they were quite modern type of biscuit, but biscoff biscuits were invented in 1932 by a Belgian baker named Jan Boone Sr.
I think, they become even more popular recently when the Biscoff spread was released in 2007. The Biscoff spread can be used as a sweet spread for toast, topping for pancakes, oatmeal, porridge and also as ingredient in various desserts.
My no bake biscoff cheesecake recipe combines both the biscoff biscuits and the spread and it works really great with the dark chocolate cheesecake layer.
My top tips on making chocolate biscoff cheesecake recipe successfully first time round
Use full-fat cream cheese! Low fat cream cheese has the annoying habit of going completely watery when you mix it with icing sugar and you'll end up with a sugary sauce rather than a firm cheesecake.
Use strong cocoa powder or a suitable cocoa powder substitution for the chocolate layer. As much as I love the biscoff flavour, its quite sweet, so the plain cocoa layer helps to balance out the sweetness in this cheesecake.
CHOCOLATE PUDDING RECIPES
Time saving tip
Make these easy biscoff chocolate cheesecakes the night before you want to use them to allow for chilling time. This way you can take them out straight from the fridge the next day, knowing that they are properly set.
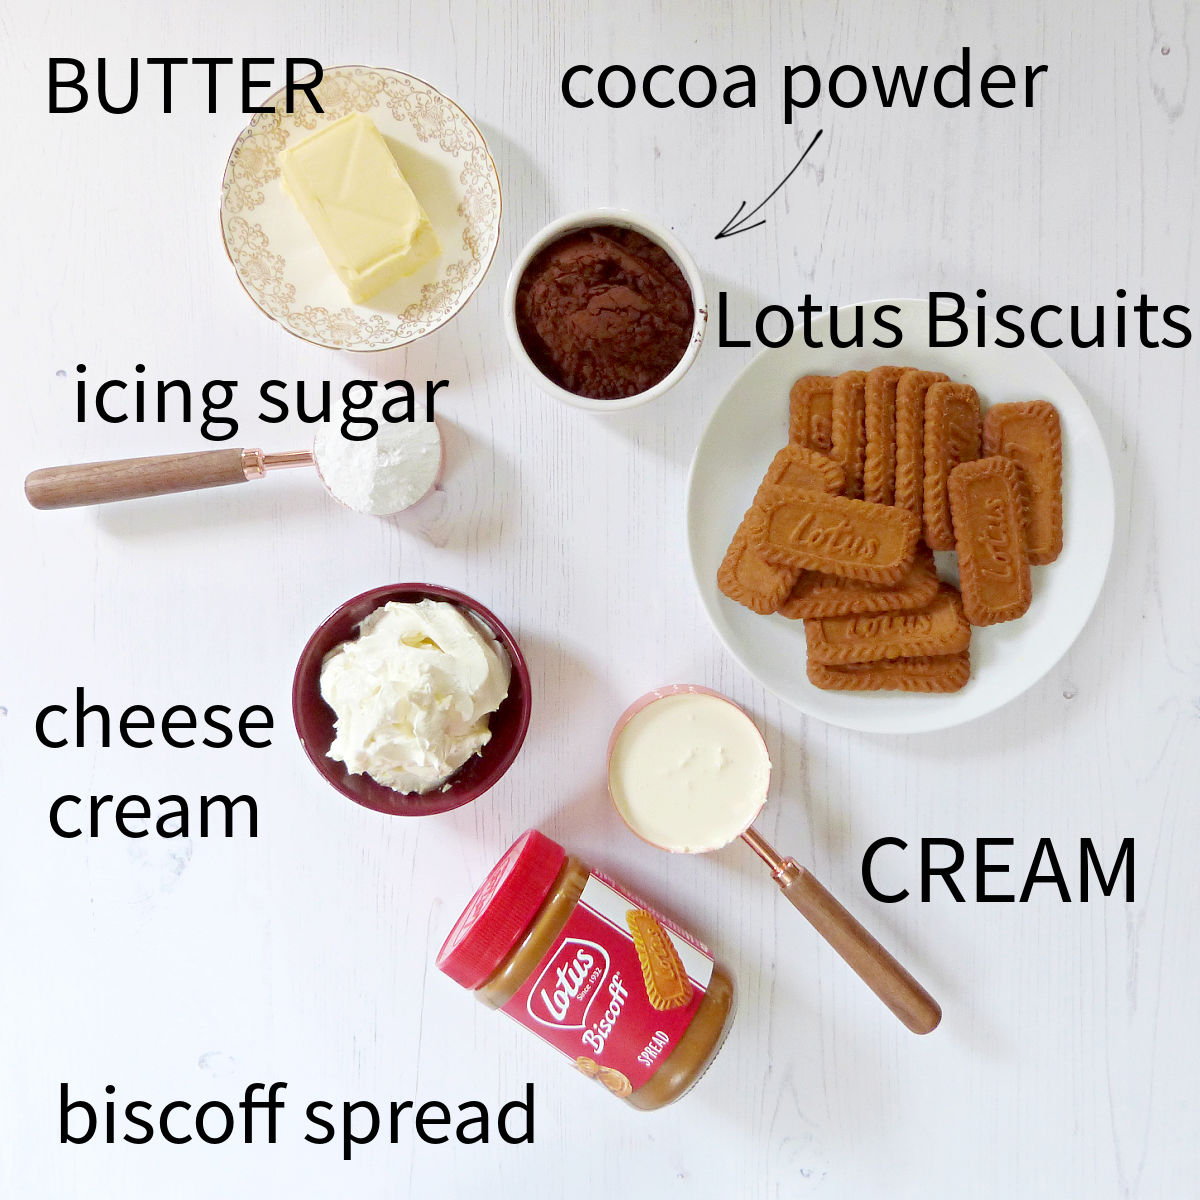
Notes on ingredients
Biscoff – Lotus Biscuits
You will need about 1 pack of lotus biscuits (about 13 in total), but this can vary depending on the packaging you buy. I've used the original lotus biscuits without any filling.
If you didn't have biscoff biscuits, you could easily use any other type biscuts, but the flavour will change as you do that.
The closes biscuits (in flavour) to biscoff biscuits would be malted biscuits, but they don't have as strong caramelised flavour and the crunch you get with biscoff biscuits.
Biscoff spread
Whilst the biscoff biscuits are easily available in the shops, the biscoff spread can be a little bit trickier to find. If you can't find the biscoff spread, you can leave the biscoff spread out completely or swap it with hazelnut chocolate spread, peanut butter or almond butter, which would all work with the biscut flavour.
Butter
I've used unsalted butter, because you don't want too much saltiness in the cream cheese.
Cocoa powder
Cocoa powder is the easiest way to flavour this cheesecake filling, but you can also use some of the cocoa powder alternatives and also use milk or white chocolate.
Cream cheese & Double cream
For best results, use full fat cream cheese and full fat double cream (or half and half). This is because we need to the fat in the dairy to keep the texture of the cheesecake filling firm.
Icing sugar
Fine confectioners sugar or icing sugar is important to sweeten the cheesecake filling a little. Don't use granulated or caster sugar as it will make the filling crunchy (the sugar won't dissolve and when it does it makes the filling watery).
Vanilla extract
Vanilla extract is optional, but I do find that the flavour improves if you use a good quality vanilla essence, extract or paste.
Salt
A very tiny pinch of salt helps to bring all the flavours together and stops this cheesecake filling being bland.
How to make no bake chocolate Biscoff cheesecake recipe
Crush the Biscoff Lotus biscuits by placing them in a strong plastic bag and then using a rolling pin or something similar to crush the biscuits into fine crumbs. You can also do this in a food processor for extra fine crumbs.
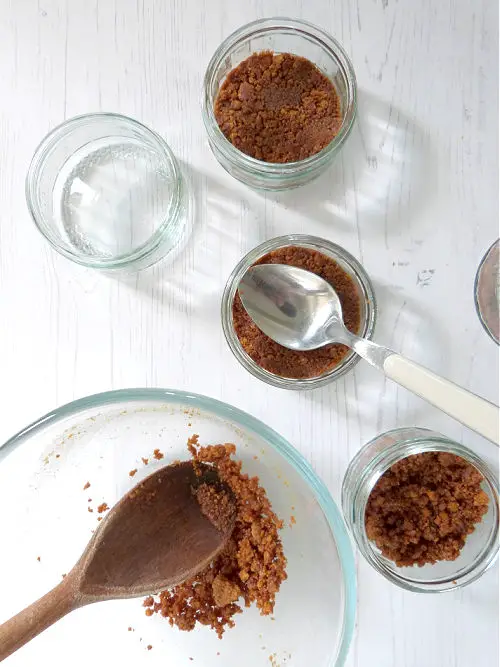
In a medium sized bowl, mix together the melted butter and crushed Biscoff (Lotus) biscuits.
Divide between 4-5 ramekins, or 2-3 jars or glasses (depending on size) and firm them up at the bottom. You are aiming for a thinner layer of no more than 1 cm.

In another mixing bowl, whip the double cream (heavy whipping cream) with a tiny pinch of fine salt, until it forms stiff peaks.
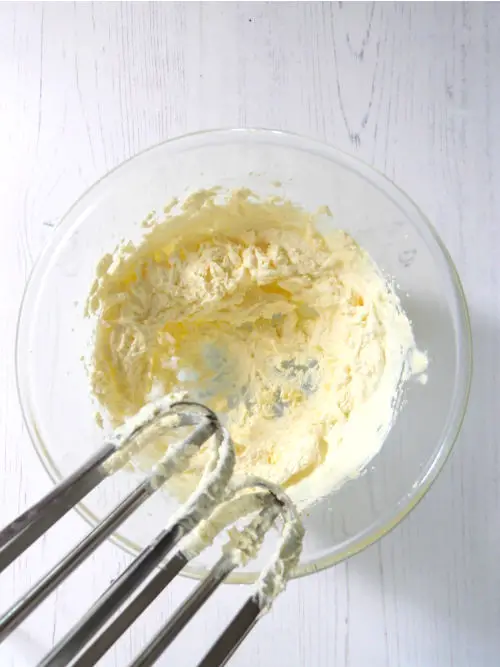
In a separate medium mixing bowl, mix together the cream cheese, vanilla extract and icing sugar. You can whip the cream as well, but mixing it with a fork is fine.
Add the whipped cream to the cream cheese and mix together gently.
Split the cream cheese filling into two bowls (using the ones you already have).
Add cocoa powder into one half of the cream cheese filling and mix in.
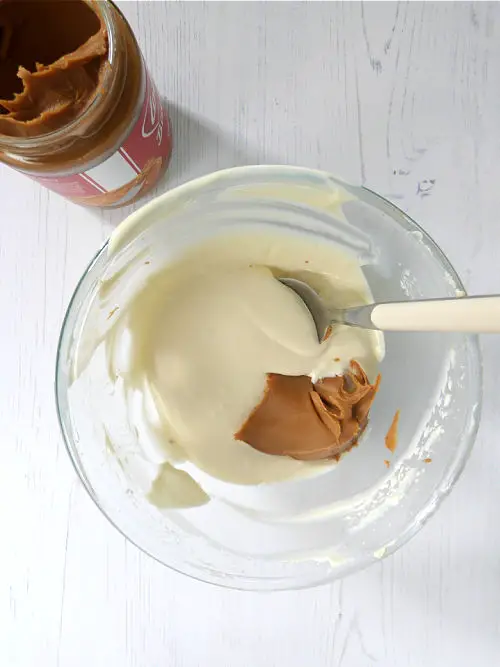
Fold the biscoff spread into the second bowl with cream cheese filling. You can completely blend it in or leave it unmixed for a marbling effect.
Divide the cream cheese filling between your jars and smooth over on the top.
Add the chocolate cream cheese layer by dividing it between the ramekins or jars and smoothing the tops. It's slightly easier to achieve a sharp layer look if you leave the first layer of cream cheese filling to firm up in the fridge.
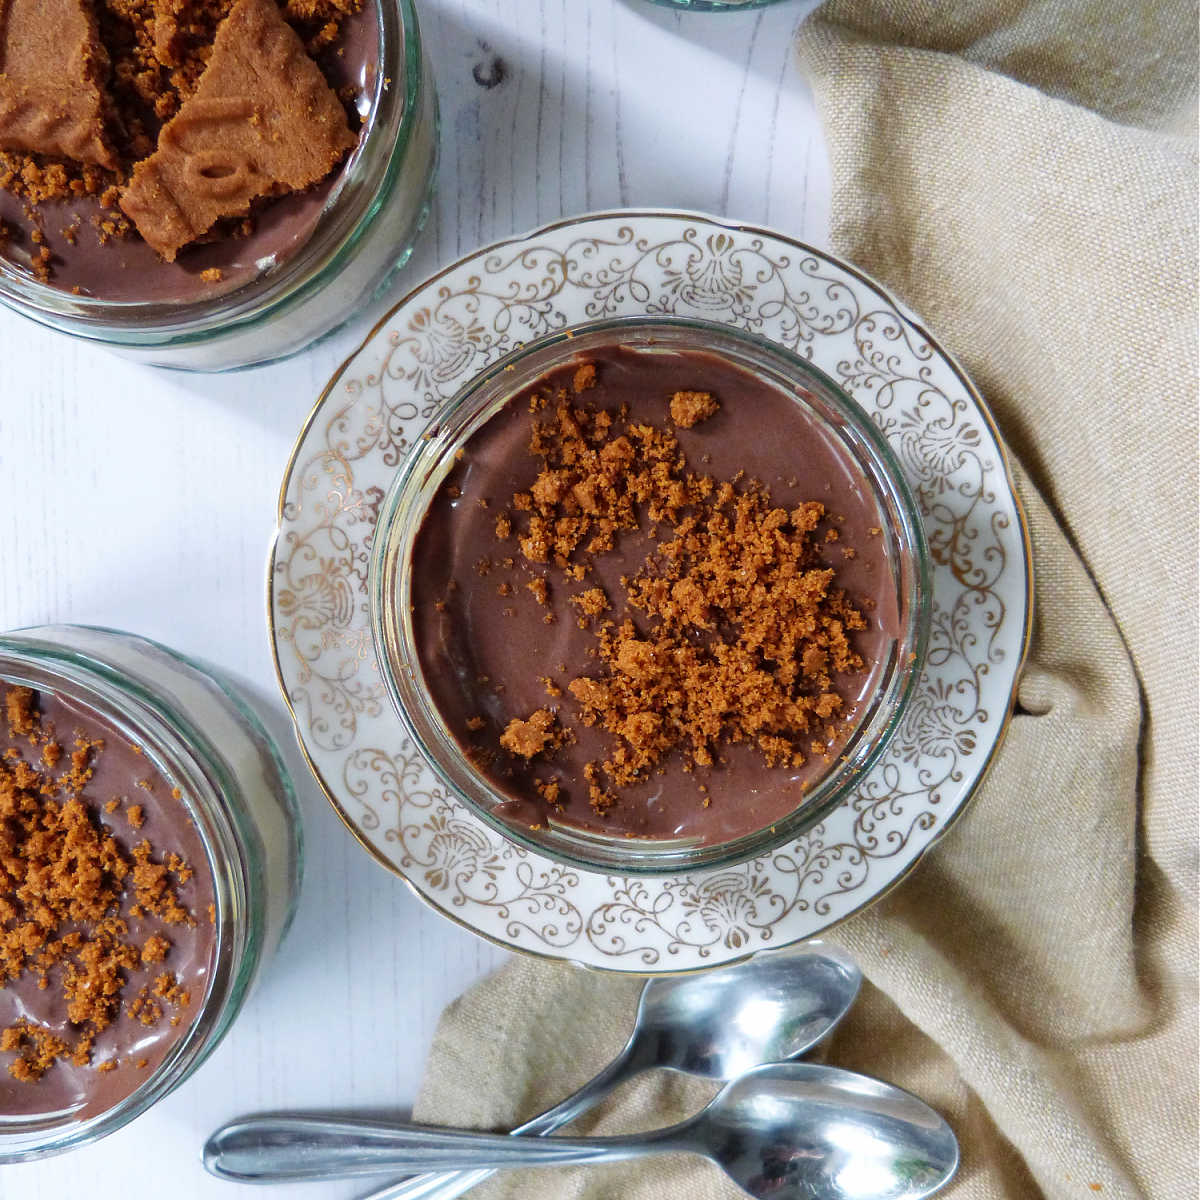
Finally, decorate your no bake biscoff cheesecake with extra crushed biscoff biscuits.
If you have the time, leave to chill in the fridge for 1-2 hrs before serving.
MORE CHOCOLATE PUDDING RECIPES
How else you can make this recipe?
There are so many way to make this no bake biscoff cheesecake, which is great, because everytime you make this recipe you can make it slightly differently. It's also very versitile recipe, so if you don't have a particular ingredient you can always swap it for something else.
Use an easy to make chocolate syrup instead of the cocoa powder in the cheese cream layer.
Use different types of biscuits - digestive biscuits, hob nobs (oat biscuits), ginger biscuits, malted biscuits or other plain biscuits will work with this recipe well
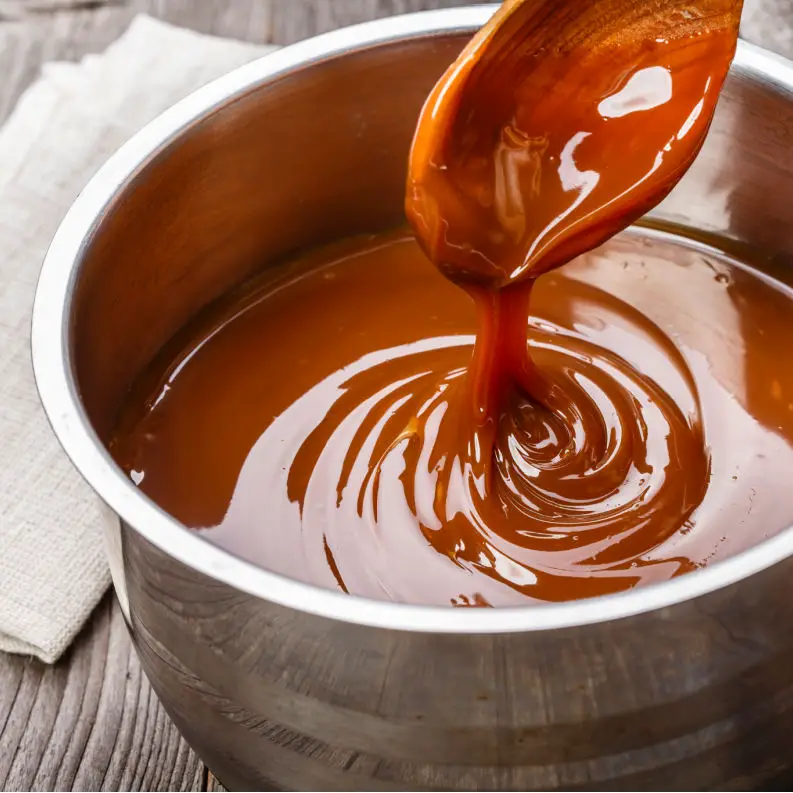
Make just one version of the cream cheese with biscoff spread and add a thin layer of homemade salted caramel sauce, which will work fabulously well with the biscoff.
Use plant based cream and cheese cream to create a vegan version of this cheesecake. If you can use full-fat cream cheese and cream, because low fat goes watery when you mix it with icing (fine, confectioners) sugar).
Biscoff & Coffee Cheesecake recipe version
Make it into a Biscoff & Coffee cheesecake, by swapping the cocoa powder for instant coffee granules mixed with a tiny bit of hot water to create a coffee flavour paste. You'll need only about 1 teaspoon of instant coffee granules.

Biscoff and white chocolate cheesecake recipe version
To make this cheesecake recipe into a biscoff and white chocolate cheesecake, just swap the cocoa powder for white chocolate.
Either use white chocolate hot chocolate drink powder (2 tablespoons) or carefully melt about 50 grams (1/2 regular white chocolate bar) in a microwave (gradually heat with 5 seconds at a time and stiring in between). You can also melt the white chocolate in a bowl placed over a saucepan of hot water for 3-5 minutes.
Once you swap the cocoa powder for white chocolate, follow the rest of the recipe as it is.
Biscoff and Nutella Cheesecake Recipe version
You can also make this no bake cheesecake recipe very easily into Biscoff & Nutella Cheesecake by swaping the Biscoff spread for Nutella (or other hazelnut chocolate spread of your choice). You can follow the recipe as it is (and just swap the spreads) or you can also add an extra layer of nutella spread on the top.
You can also leave the middle cheesecake layer as plain vanilla cheesecake and add the Nutella into the top cheesecake layer (and leave out the cocoa powder). Either way you can't go wrong, whichever way you choose to add the Nutella spread into this cheesecake recipe.
Serving size
This very much depends on how big your jam jars are, but I usually get 5 smaller ramekins or 2-3 medium sizes jars or glasses.
Can this chocolate Biscoff cheesecake be made in advance?
It's best to chill this biscoff chocolate cheesecake for 1-2 hrs, but it can stay in the fridge for longer. This is handy if you are planning a party, because you can make these Biscoff chocolate cheesecakes in the morning for an evening party.
You can safely make this no bake chocolate biscoff cheesecake recipe 24 hrs before you need it. Once you make your cheesecakes place them in the fridge straightaway (covered) and bring them out only about 20 minutes before serving to warm them up slightly in a room temperature.
If you are serving these no bake cheesecakes at a summer garden party, keep them in the fridge until just before you want to serve them to prevent them from sitting around on the sun or hot air.
How long does no bake cheesecake last ?
This chocolate biscoff cheesecake is best eaten within 1-2 days of making the recipe as it's made from fresh ingredients and without any preservatives.
The cheesecake will very likely last up to 3-4 days (as long as a regular cream cheese or double cream would last), but they do start to loose their structure a bit and can go quite soggy.
How to store chocolate Biscoff cheesecake
This no bake cheesecake is best kept in the fridge covered with cling film or other tightly fitting lid to prevent the cream absorbing any strong flavours from your fridge and to prevent the cheesecake from drying out.
Can you freeze no bake chocolate Biscoff cheesecake?
In theory you can freeze no bake cheesecakes, but I'd not recommend it with this recipe. First of all we are using small jars or glass ramekins to layer our cheesecakes and glass shouldn't go into a freezer (it might contract & expand and it might shatter into small pieces).
The next problem with freezing the cheesecakes as they are is that the presentation will suffer after you defrost them.
If you still want to freeze the cheesecake, you would need to find suitable container, such as a very large ice cube trays or individual smaller plastic containers. Layer the chocolate Biscoff cheesecake as if you were making them in the jam jars. Leave the last layer undecorated with extra biscuits (and save them for when you defrost the cheesecakes).
Cover and freeze for 1-3 months (can be for a little longer if needed). When you are ready to eat your frozen cheesecakes, take them out the night before and leave to defrost in the fridge overnight. Decorate with extra biscoff or other biscuits and serve.
If you want to make the chocolate Biscoff cheesecake more presentable, take them out of their plastic containers before they are completely defrosted and place them into more decorative dish (small tea cup, ramekin or vintage tea plate).
If you've used a large ice cube trays and you packed all the layers neatly in, remove the chocolate Biscoff cheesecakes when they are frozen and place them on a pretty plate. Leave to defrost in the fridge. The Biscoff cheesecakes will keep their shape. Add extra Biscoff biscuits or other toppings and serve.
Why not stay in touch...
I hope you enjoy making this recipe and if you do, I'd love to know what you think! Let me know in the comments below or find me on Instagram or Facebook and add the hashtag #cocoaandheart so that I can see your post.
Or why not subscribe to my weekly newsletter with new recipes and baking tips straight to your mailbox.
Magdalena

Biscoff & Chocolate Cheesecake (no bake)
Equipment
- handheld electric whisk
- mixing bowls
- 4-5 ramekins or small glass bowls, jars
Ingredients
- 100 grams Biscoff – Lotus Biscuits crushed about 13 biscuits
- 1/4 cup Biscoff spread about one very heaped tablespoon
- 40 grams unsalted butter about 3 tablespoons
- 1 tablespoon cocoa powder or more to your liking
- 120 ml cream cheese 1/2 cup of full-fat cream cheese
- 120 ml double cream 1/2 cup of heavy whipping cream
- 3 tablespoons icing sugar fine confectioners sugar
- 1/2 teaspoon vanilla extract optional
- tiny pinch cooking salt
Instructions
- Crush the Biscoff Lotus biscuits by placing them in a strong plastic bag and then using rolling pin or similar to crush the biscuits into fine crumbs. You can also do this in a food processor for extra fine crumbs.
- In a medium sized bowl, mix together the melted butter and crushed Biscoff (Lotus) biscuits.
- Divide between 4-5 ramekins, or 2-3 jars or glasses (depending on size) and firm them up at the bottom. You are aiming for a thinner layer of no more than 1 cm.
- In another mixing bowl, whip the double cream (heavy whipping cream) with a tiny pinch of fine salt, until it forms stiff peaks.
- In a separate medium mixing bowl, mix together the cream cheese, vanilla extract and icing sugar. You can whip the cream as well, but mixing it with a fork is fine.
- Add the whipped cream to the cream cheese and mix together gently.
- Split the cream cheese filling into two bowls (using the ones you already have).
- Add cocoa powder into one half of the cream cheese filling and mix in.
- Fold the Biscoff spread into the second bowl with cream cheese filling. You can completely blend it in or leave it unmixed for a marbling effect.
- Divide the cream cheese filling between your jars and smooth over on the top.
- Add the chocolate cream cheese layer by dividing it between the ramekins or jars and smoothing the tops. It's slightly easier to achieve a sharp layer look if you leave the first layer of cream cheese filling to firm up in the fridge.
- Finally decorate with extra crushed Biscoff biscuits.
- If you have the time, leave to chill in the fridge for 1-2 hrs.
- Keep in the fridge and eat within 1-2 days.
This recipe was originally written on 15 July 2021 and last tested and updated on 6 April 2023


Such a great recipe for summer! I didn’t want to bake anything because it’s just so hot, but your cheesecake recipe was exactly what we needed. I’ve made it twice already and second time used chocolate biscuits instead of lotus ones and it tasted great too!