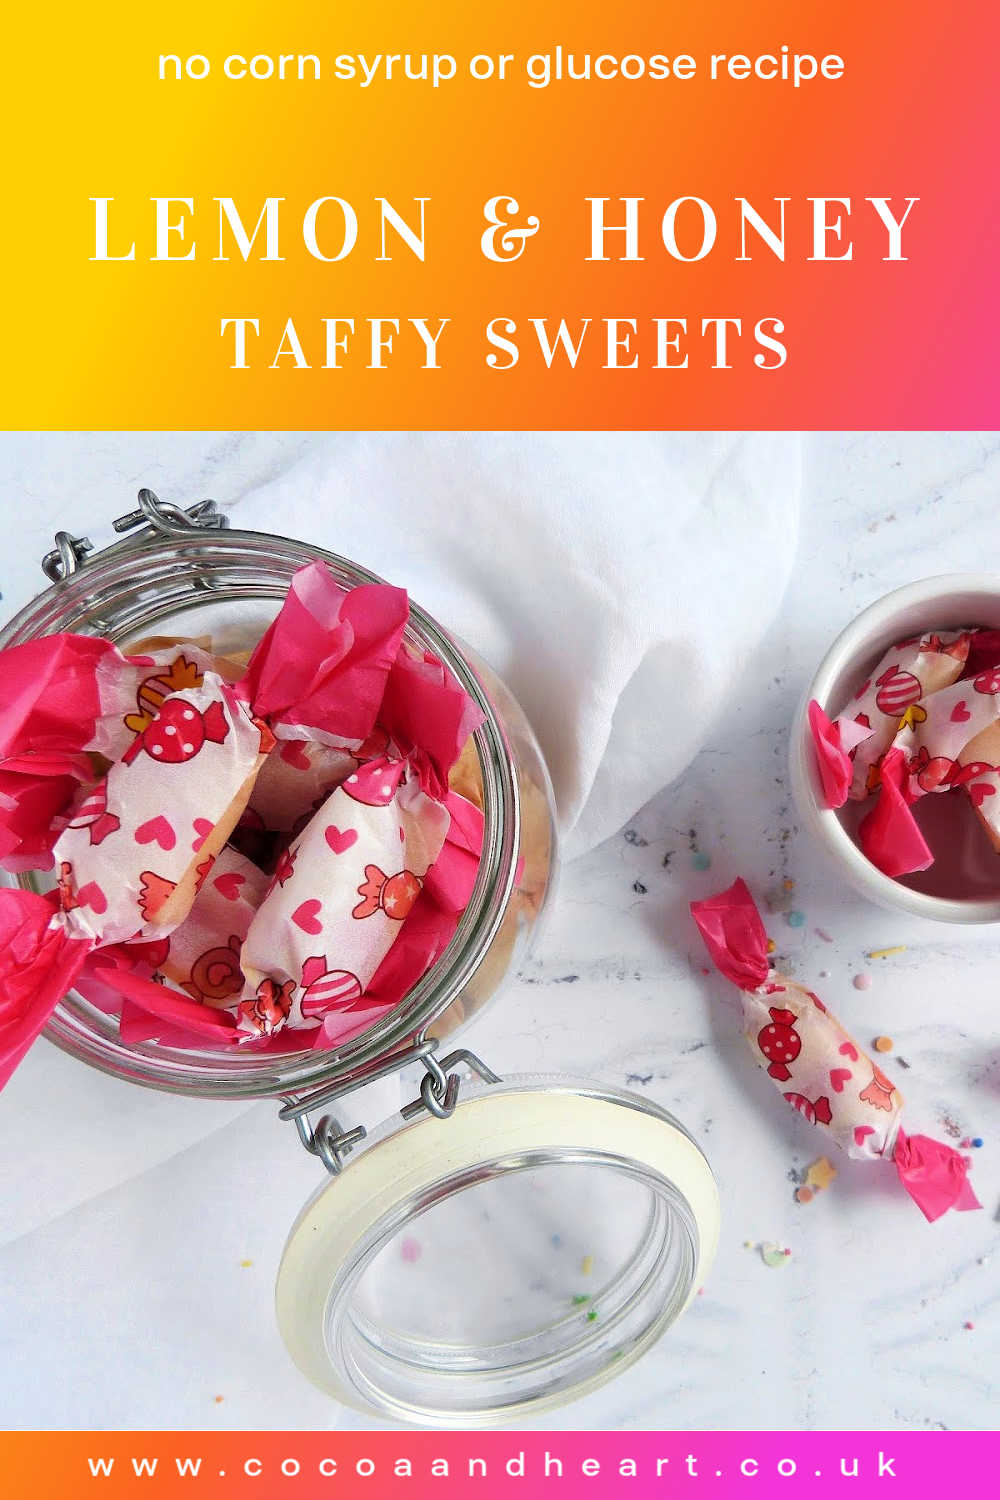
Traditional pulled taffy recipe without corn syrup or glucose. Soft chewy sweets made with honey and fresh lemon juice. Fairy easy to make recipe - this Lemon & Honey Taffy sweets make great gifts wrapped in individual sweet wrappers and put in small jam jars with ribbons.
This Lemon & Honey Taffy recipe is easy to make and produces the most amazing chewy sweets without corn syrup or glucose. In this traditional pulled taffy recipe, I've replaced the original sugar glucose (corn syrup) with honey and paired it with fresh lemon juice.
This is also a really fun project to make for everyone who is just starting with sweet making at home as you'll be pulling the taffy to create the wonderful chewy texture.
Why make this recipe?
- Relatively easy to make
- Children can help with pulling the taffy as the sugar mixture is pulled when it's cold
- Great base recipe, which you can further customise with different flavours
- Unlike traditional taffy recipes, you won't need glucose or corn syrup to make this one
PIN THIS RECIPE TO KEEP FOR LATER
MORE TRADITIONAL SWEET RECIPES
What exactly is taffy?
Until a few years ago, I would have asked the same question! The other day I was researching a recipe for a chewy type of sweet for my traditional sweet making courses and I came across saltwater taffy recipe.
The story goes that a sweet shop owner once woke up with his shop flooded with seawater and all his stock ruined. Or so he thought... Instead of throwing all the sweets away, he tried to save what he had and re-marketed his chewy sweets as 'saltwater taffy'.
The salty treats were a great hit. He sold all his spoiled stock and then decided to start making the sweets salty by adding extra sea salt into his taffy recipe.
As much as I love this story, I also know that if water goes anywhere near boiled sweets it turns it into sticky, sugary water within hours, so I doubt that this story actually happened.
Taffy sweets are very popular in America, where they are made in different flavours - mainly fruit ones and of course the famous saltwater flavour.
In Europe they compare very closely to chewy sweets (like Starburst in the UK) or Maoam sweets. In Czech Republic, my brother and I would fight over 'Sisinky', which had various fruit flavours and as kids we absolutely loved them!
My top tips on making taffy successfully the first time round
- Make sure that the sugar reaches the correct temperature before pouring it out
- Leave the taffy sugar to set until nearly cold (or only warm to touch)
- Keep pulling the taffy until it's opaque and quite firm
- Oil your hands and scissors lightly when cutting the sweets
- Wrap your taffy straightaway to prevent the sweets sticking together
What makes this recipe work
The amazing combination of honey and lemon. It's also the perfect recipe for taffy when you don't have glucose or corn syrup, which is what is traditionally used for this recipe.
Any specialist equipment needed?
- Digital thermometer (normal thermometer is fine too, but digital is more accurate)
- Saucepan
- Pastry brush
- Deep baking tray
- Greaseproof paper (either cut up any greaseproof food-safe paper or buy sweets wrappers)
Time saving tip
Leave the sugar mixture to cool down properly before you start to pull the taffy. If it's not cold enough it only takes longer to pull and often doesn't go as firm as you mind like it to be.
Pro tip
If your kitchen humidity is higher than 55% or if you want your sweets to be slightly firmer, boil the sugar mixture 2-3 degrees higher than the recipe states. This helps to counteract the humidity in the air and makes the taffy last a little longer too.
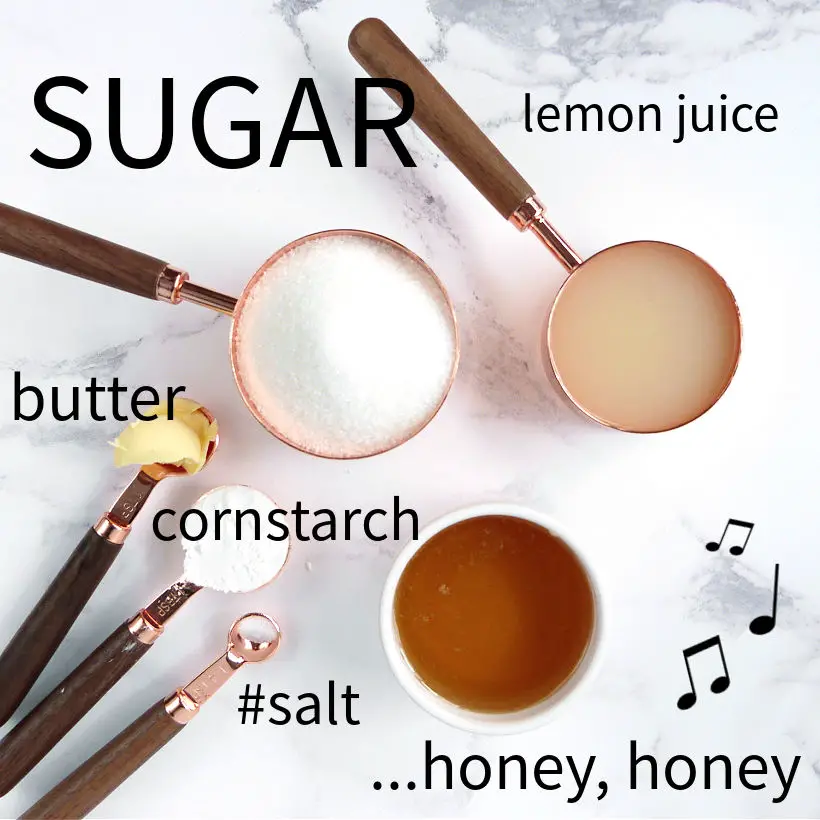
Ingredients & Possible Substitutions
Sugar
I've used regular granulated white sugar for this recipe. You can also use caster sugar, but it's not necessary.
Golden caster sugar would work with this recipe and would compliment the honey flavour quite well.
Whilst this recipe will work with other types of sugars, the flavours might be too strong, so I wouldn't advise to use dark brown or even light sugars.
Cornstarch
Cornstarch or cornflour is important to make this recipe smooth. You could substitute it for potato or tapioca starch, but if you don't have either of these, just leave it out all together.
Honey
Use any kind of honey you have available. Since we are going to boil the honey, I would use anything too fancy, such as raw honey or manuka honey as the heat affect the good nutrition.
The traditional recipe uses light corn syrup (slightly watered-down glucose), so if you have that, you can easily swap it.
I've not tested this recipe with any other type of liquid sugars, but maple or agave syrup would be (structurally) similar to honey and glucose, so you can try to substitute these, if you like.
What works really well is to use 50% honey and 50% glucose (or light corn syrup). This gives you just enough honey flavour without making it too overpowering.
Butter
Use real dairy butter for this recipe - salted or unsalted. If you are using salted butter, you might like to add less salt to the recipe.
Liquid - Lemon juice
Originally the liquid in this recipe is water. I wanted to add lemon flavour into these sweets without using lemon essence or other types of flavouring, so I decided to replace the water for fresh lemon juice.
You can also use concentrated lemon juice and water in whatever proportions you like. The more concentrated lemon juice you add it, the more zingy the taffy will be.
Salt
Salt is quite an important ingredient in this recipe. Just a tiny amount is needed, but it makes all the difference. If you are using salted butter, use a little less salt.
Spice
Lemon and honey are great flavours, but you can add a third complimenting flavour such as ground ginger, cinnamon or mixed spice. Ground aniseed also works great with this recipe.
How to make traditional taffy without corn syrup or glucose at home
This is one of the easier traditional sweets you can make at home. This recipe is done in few simple steps:
STEP 1
Measure all the ingredients apart from the spiceses and add them to a medium (smallish) sized saucepan.
STEP 2
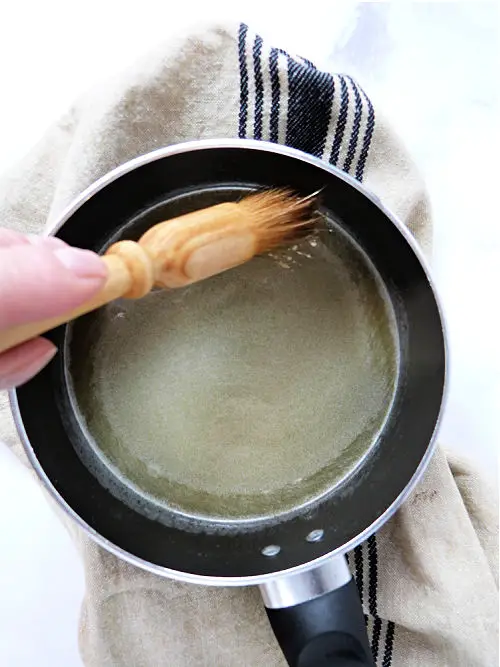
Put on a very low heat. Mix thoroughly and wait until the mixture dissolves completely. If you see any sugar crystals on the side of the saucepan, brush it with a pastry brush dipped in a hot water.
This will help to get all the sugar crystals down to the main part of the sugar syrup and dissolve properly. Its always better to swirl the saucepan than to stir it, especially when you have all the crystals dissolved properly.

STEP 3
Increase the heat to medium-hot and heat until the mixture reaches 120C - 124 C ( 255 F) on a digital thermometer and immediately remove from the heat.
As I mentioned before, if your house humidity is more than 55% you might like to boil the mixture to about 126 C (260F) to make sure that your sweets are hard enough when set. If you prefer a softer version of taffy, take the saucepan off the heat at 120 C.
A note on making sure you don't end up with sugar crystals in your finished sweets. Once the sugar mixture has dissolved, don't stir it, just let it boil on it's own. If you do stir it, it will agitate the dissolved sugar crystals and make them even stronger.
EXTRA TIP
Make sure that you don't stir your sugar once it's dissolved to prevent crystalised sweets.
Another important part of getting this chewy sweets recipe right is to measure the temperature just off the bottom of the saucepan and slightly off the centre. The centre is always going to be hotter first before the sides and equally the bottom of the saucepan is going to to be hotter than the middle of the sugar mixture. This could make a 1-2 degrees difference, which can result in runny sweets.
STEP 4
Add any extra flavours such as spices or flavour essences at this stage. Swirl the flavour in, but don't stir too much.
STEP 5
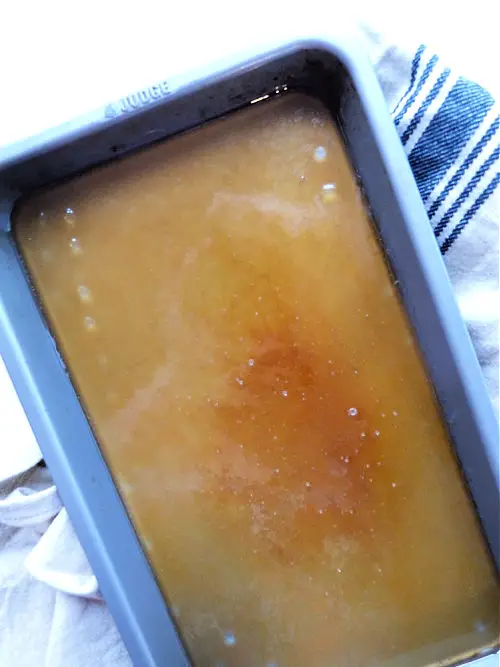
Oil a small baking dish ( I'm using a brownie baking tin) and pour the sugar mixture on. Make sure the baking tin is resting on something heat proof as the sugar is going to be massively hot!
Leave to set until completely cold. I found that the quickest way to do this is to put the tray on a cold marble and keep moving it to another cold location every 5-10 minutes.
Never ever put the hot tin in a fridge or a freezer. Not only you can damage your appliances, but you will also damage the taffy with the high humidity that's inside both fridge or a freezer. Just be patient!
Pour the hot taffy into the buttered baking dish. Wait 10-15 minutes or until the mixture cools down completely.
STEP 6
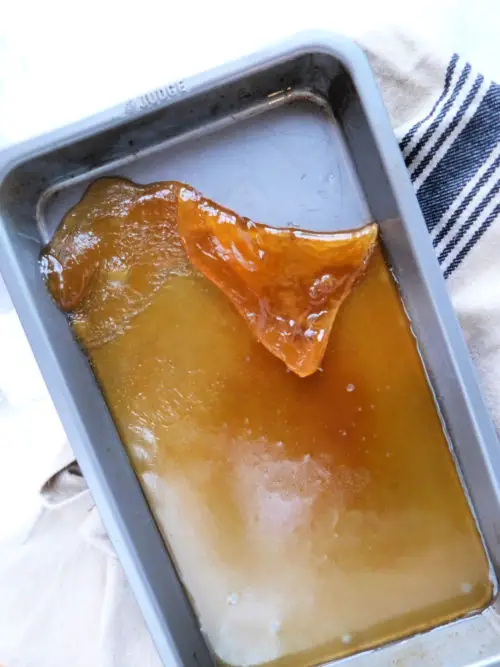
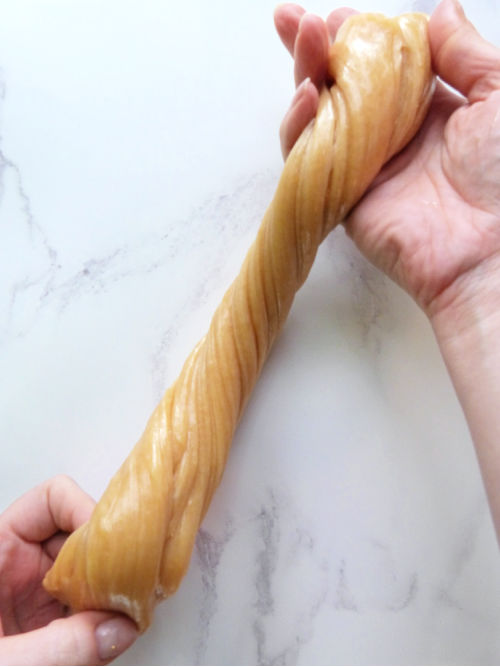
When the taffy is cool enough to handle, butter or oil your hands, form a big taffy ball, and begin to stretch and pull. Keep doing this for about 15 minutes.
Pulling the taffy aerates it, which makes it softer and more chewy. As you pull, you'll notice that the colour of the taffy becomes significantly lighter. You'll also notice that the taffy will get much tougher to pull.
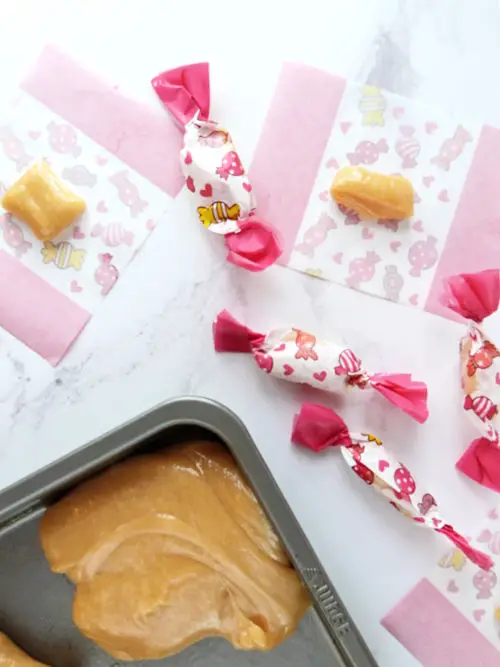
Do one last pull to make the taffy into a long rope with the thickness that you'd like your final product to be.
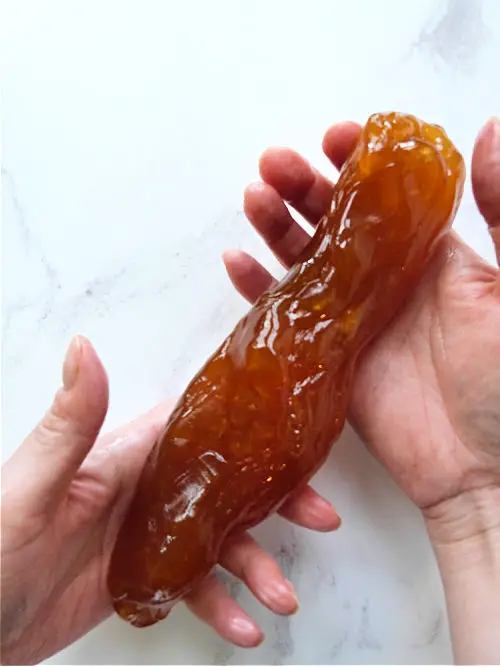
STEP 7
Butter or oil a pair of sturdy kitchen scissors and cut the taffy into bite-sized pieces. Using wax paper or greaseproof paper wrap each piece individually and store it in an airtight container.
TROUBLESHOOTING THIS RECIPE
What to do if the taffy goes hard before I have the chance to pull it?
This happens to me sometimes too, so I carefully push the taffy together into a ball and place it on a oiled plate in the microwave for 5 seconds. 5 seconds is plenty for the middle of the taffy to get hot again and if you very gently move it around you get the hot middle to warm up the outside of the taffy too.
You have to be super careful when you do this, because even few seconds longer and the middle of the taffy turns into boiling sugar and can burn you if it comes out. Oil your hands when you handle the taffy or wear oiled catering gloves (two pairs will protect you against the heat better than one pair).
If you don't have a microwave you can also very carefully place the taffy in the warm saucepan and just let the sugar mass to warm up very gradually. You don't want it to to boil or get too hot, just warm enough to make sure that you can pull it again.
What to do if my taffy mixture remains soft and doesn't firm up before pulling?
Sometimes, when the sugar mixture hasn't reached the correct temperature (was too low) or you've added too much liquid, the taffy mixture can remain soft when it ment to harned up before you start to pull it.
A slightly softer texture is fine, but if the taffy is runny between your fingers, it's a little too soft. This won't change even if you leave the mixture to set for longer. Once the taffy mixture is cold and still soft and runny, it will stay like this. So, what can one do?
I've had this happening a couple of times and every time I was able to resolve it by putting the taffy mixture back to the saucepan (completely clean) and leaving it to dissolve over very low heat.
Once the mixture was dissolved, I've increased the temperature and boiled until the temperature reached 120C - 124 C ( 255 F) on the digital thermometer.
I've left the mixture to cool down again and once cold continued with the recipe by pulling the taffy and finally wrapping the sweets.
One thing to bear in mind here is that the taffy mixture can easily caramelise as you are re-boiling it, so if your mixture wasn't completely like a soup (only a little bit soft), don't wait until the thermometer reaches the 120C - 124 C ( 255 F) and take the saucepan off the heat once you see the mixture is starting to go brown.
HOMEMADE CHOCOLATE RECIPES
- White Chocolate Bar (with coconut oil) >>
- Rum Truffle Recipe with cake crumbs >>
- Easter Eggs Cakesicles >>

How else you can make this taffy recipe?
Originally, this recipe was made with glucose (instead of honey) and water (instead of water and lemon juice).
You could easily play around with the flavours and add more spices, vary the strength of lemon juice or just use water.
I'm assuming you are making this recipe because you don't have a glucose or corn syrup, so I'll leave it out altogether. Here are few suggestions, you might like to try:
- Lemon juice + honey + ground dry ginger spice
- Lemon juice + honey + ground white pepper
- Orange juice + honey + ground cinnamon spice
- Rosemary infused water + Lemon juice + honey
Sweets batch size
Depending on how large/small you cut your sweets, you can easily end up with 40-50 sweets from this recipe.
Scaling up or down
As much as I'm a fan of experimenting with recipes, I draw the line at traditional sweets.
This batch is already 'small' (in as much as I normally start with 500 grams of sugar), so I wouldn't recommend to half the recipe even further. You'll only end up burning it anyway, so make more and share it with your friends and family!
If you wanted to make more taffy, you can double this recipe, but you'll need to adjust the size of the pan (large) and the time it takes to boil the mixture (longer).
I would strongly recommend to first try the original batch size recipe as it is and only experiment when you feel confident enough and you've made several successful batches.
Taffy sweets shelf life
The actual shelf life it's indefinite - since taffy is just sugar, water and lemon juice.
Nothing can really go 'off' in this 'food'. But the longer you store your taffy, the more likely is that the sweets will start to absorb humidity and become sticky. You can still eat them, but they will probably get more sticky as time goes.
I've kept my homemade taffy for 2 weeks without any problems (individually wrapped and in a jam jar with a lid). After another 2-3 weeks, the taffy starts to get slightly softer (and sometimes crumblier), depending on what flavour I make. By week 6 I usually find that the sweets are starting to get very runny, although the flavour is still absolutely fine.
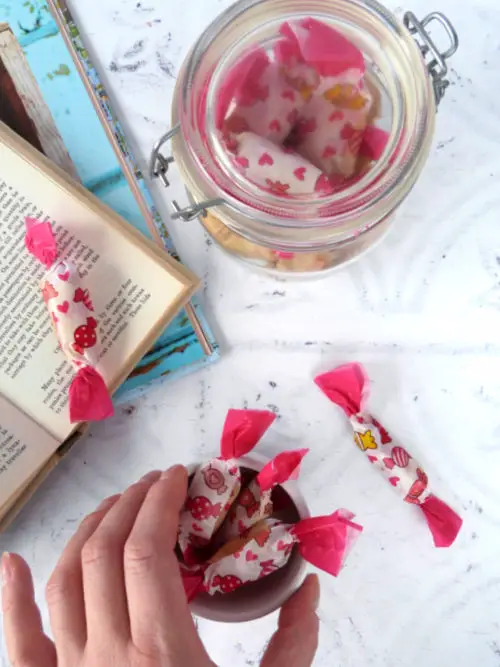
How to store taffy
Taffy is quite susceptible to humidity, especially because this version is made without glucose.
You need to wrap individual pieces into a greaseproof paper and keep them in an airtight container, like a jam jar.
The wrapping of the taffy sweets, has to happen straightaway after you cut the rope into small pieces. The minute you finish making the sweets, the humidity starts to get into them, so the quicker you wrap them and place them in the seal proof container the better.
This recipe and me
I've developed this recipe for my mum, because I knew she wouldn't be able to get glucose in her grocery shop and honey was the closest in texture and structure I could think of to a glucose.
I also wanted my niece and nephew to be able to help with the recipe and didn't want them to handle hot sirup, like when we were making traditional pulled sweets. It was quite a fun (and a challenge) to do this via Skype, but somehow we've managed to end up with two wonderful batches of Lemon & Honey Taffy in two different countries!
Why not stay in touch...
I hope you enjoy making this recipe and if you do, I'd love to know what you think! Let me know in the comments below or find me on Instagram or Facebook and add the hashtag #cocoaandheart so that I can see your post.
Or why not subscribe to my weekly newsletter with new recipes and baking tips straight to your mailbox.
Magdalena

Lemon & Honey Taffy (without corn syrup or glucose)
Equipment
- saucepan
- kitchen scissors
- thermometer
- pastry brush
- baking tray brownie baking tray
- Greaseproof paper
- jam jars + ribbons, tags to decorate the jam jars
Ingredients
- 1 cup granulated sugar approx. 200 g
- 2/3 cup honey approx 145- 150g
- 1 tablespoon cornstarch or cornflour
- 1 tablespoon unsalted butter
- 1/2 cup lemon juice 120 ml or grams
- tiny pinch of salt
- 1/4 teaspoon spice Optional
Instructions
- Thoroughly butter or oil a small baking dish and set aside.
- Place all ingredients apart from spice (sugar, cornstarch, honey, butter, lemon juice and salt) in a medium-sized saucepan on low heat.
- Mix thoroughly and wait until the mixture dissolves completely.
- Increase the heat to medium-hot and heat until the mixture reaches 120C - 124 C ( 255 F) on a digital thermometer and immediately remove from the heat.
- Add any spice or additional flavouring if using and very gently stir in.
- Pour the hot taffy into the buttered baking dish. Wait 10-15 minutes or until the mixture cools down completely.
- When the taffy is cool enough to handle, butter your hands, form a big taffy ball, and begin to stretch and pull. Keep doing this for about 15 minutes.
- Do one last pull to make the taffy into a long rope with the thickness that you'd like your final sweets to be.
- Butter or oil a pair of scissors.
- Cut the taffy into bite-sized pieces.
- Cut wax paper into small squares.
- Wrap taffy in the wax squares.
This recipe was originally written on 13 April 2021 and last tested and updated on 10 April 2023


Can’t believe how quick this is to make. And it looks like magic! Definitely going to have to try this xx
I would absolutely love to try this! A great recipe for making it glucose free. Thank you for linking up to CookBlogShare x